


Docker is one of the most popular tools for pulling, deploying, and managing containerized applications, and for good reason. Compatible with multiple operating systems, this container platform can work on pretty much every computing device under the sun, including the Raspberry Pi. It’s also fairly lightweight and lets you access a massive number of community-created images from the Docker Hub.
However, Docker’s CLI-heavy approach can seem rather complicated for newcomers to the self-hosting space, especially those who are not familiar with the Linux UI. To help you out, we’ve compiled a list of the most useful Docker commands out there.
Related
I installed Kubernetes on my old PC – here’s how I did it
Kubernetes is an amazing platform for all your containerization needs, and here’s a simple way to repurpose your outdated PC into a MicroK8s machine
The most important Docker commands for beginners
It’s worth noting that these commands were tested on Docker Engine. If you’re using Docker with the standalone Compose plugin, some commands may differ slightly; however, we’ve included both sets of commands in the list. Also, depending on the distro you’re using, you’ll need to use the sudo keyword at the start of each command to enable administrator privileges for said commands. Alternatively, you can bypass this requirement by running sudo -s and entering the root password inside the terminal.
1docker pull

Running the docker pull command will grab an image from the Docker Hub. By default, this command downloads the version of the image with the latest tag, but you can use the colon (:) followed by a different tag in case you want to use another variant of the image.
docker pull image_name
2docker images
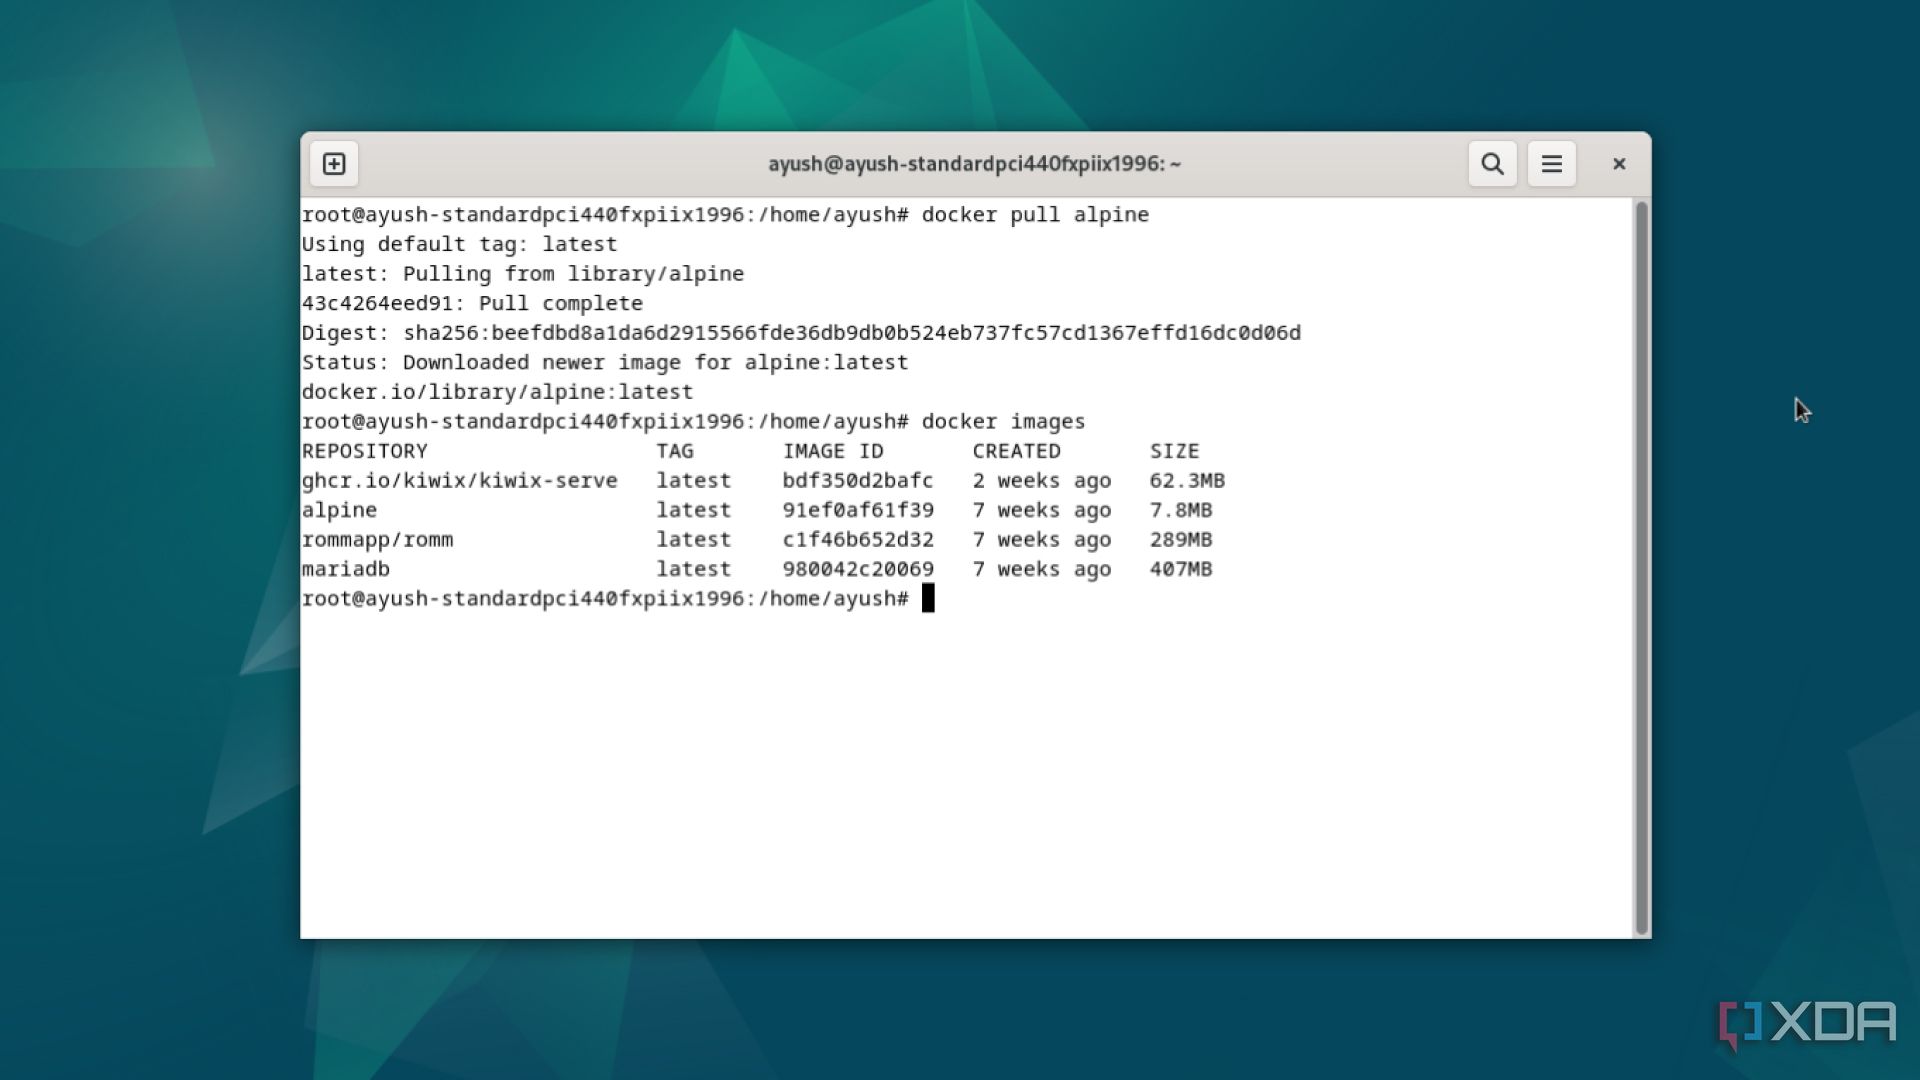
Executing images without additional keywords will let you see the details of all the images in your Docker environment. It’s pretty useful when you need to check the ID and tags of your images.
docker images
3docker build
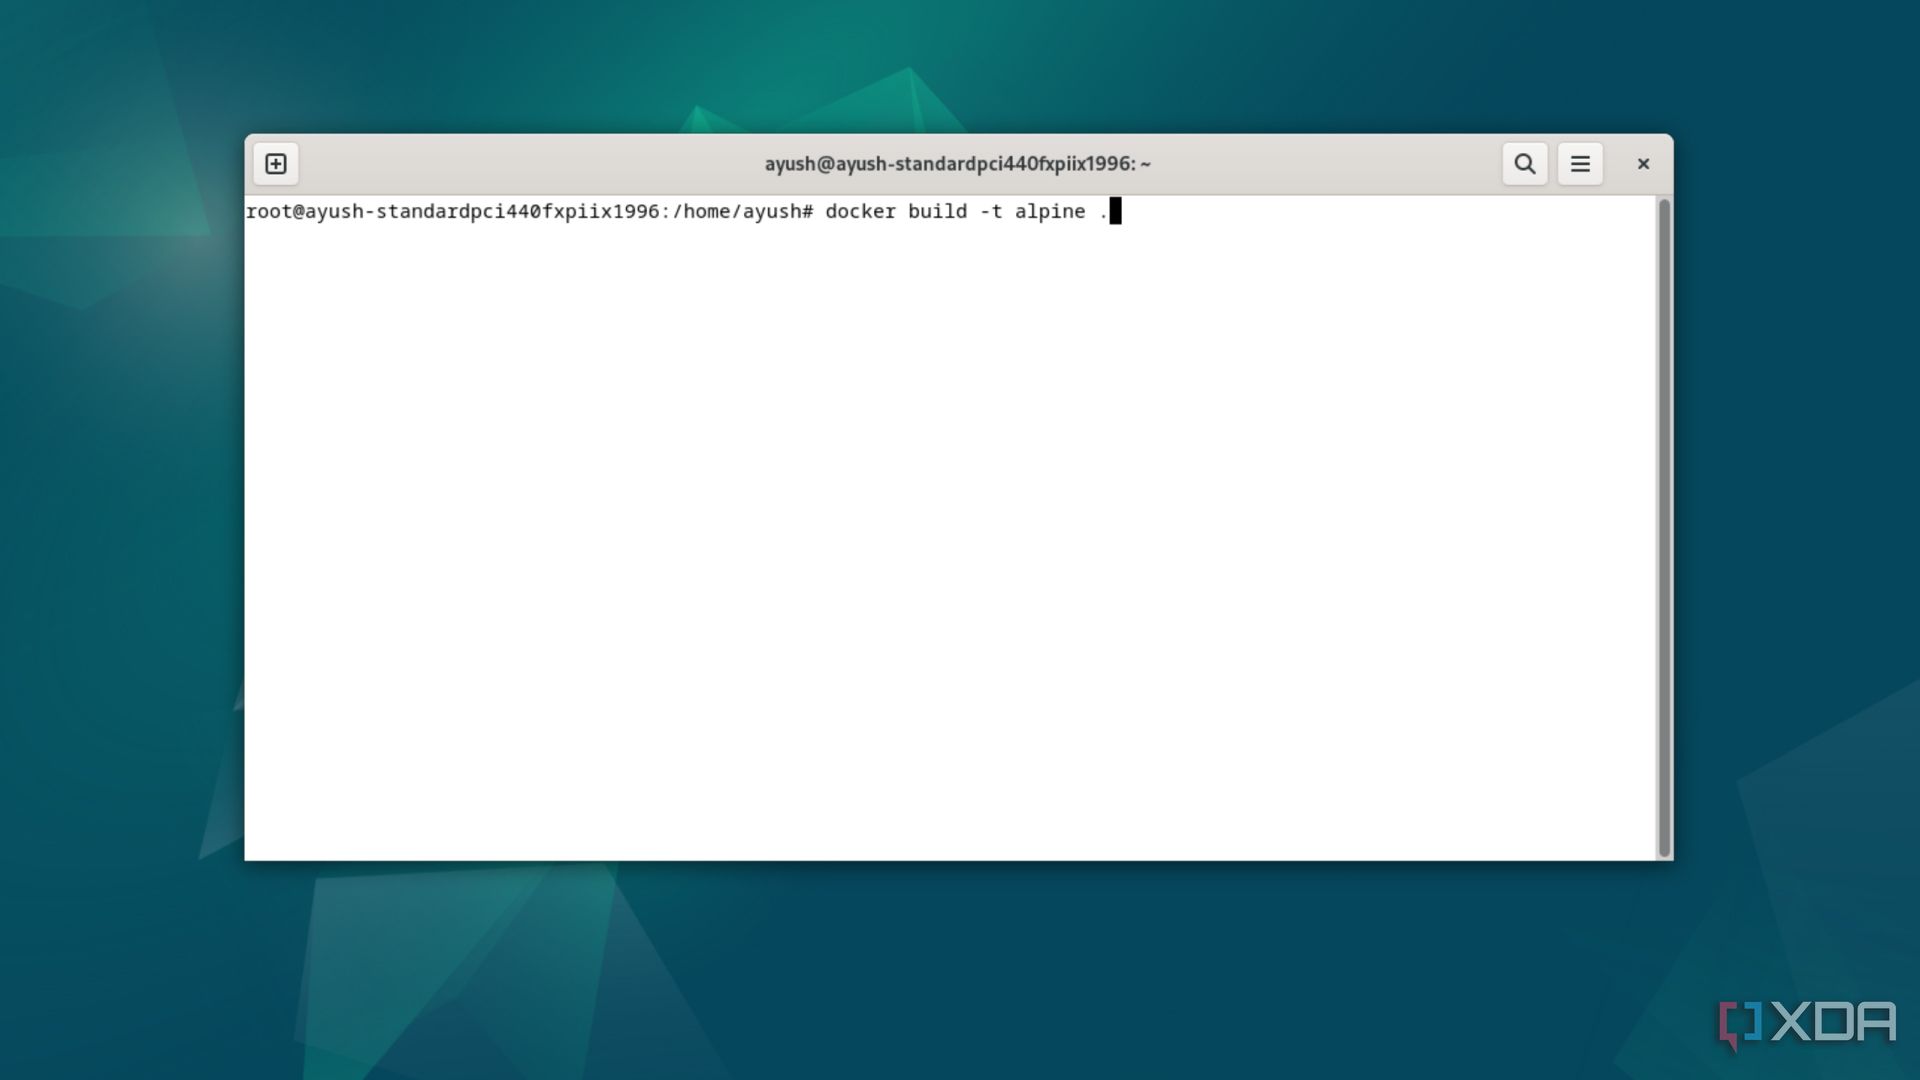
Alternatively, you can execute the docker build command to create a Dockerfile from the image. You can think of it as an editable document containing the details of your container.
docker build -t image_name .
4docker run
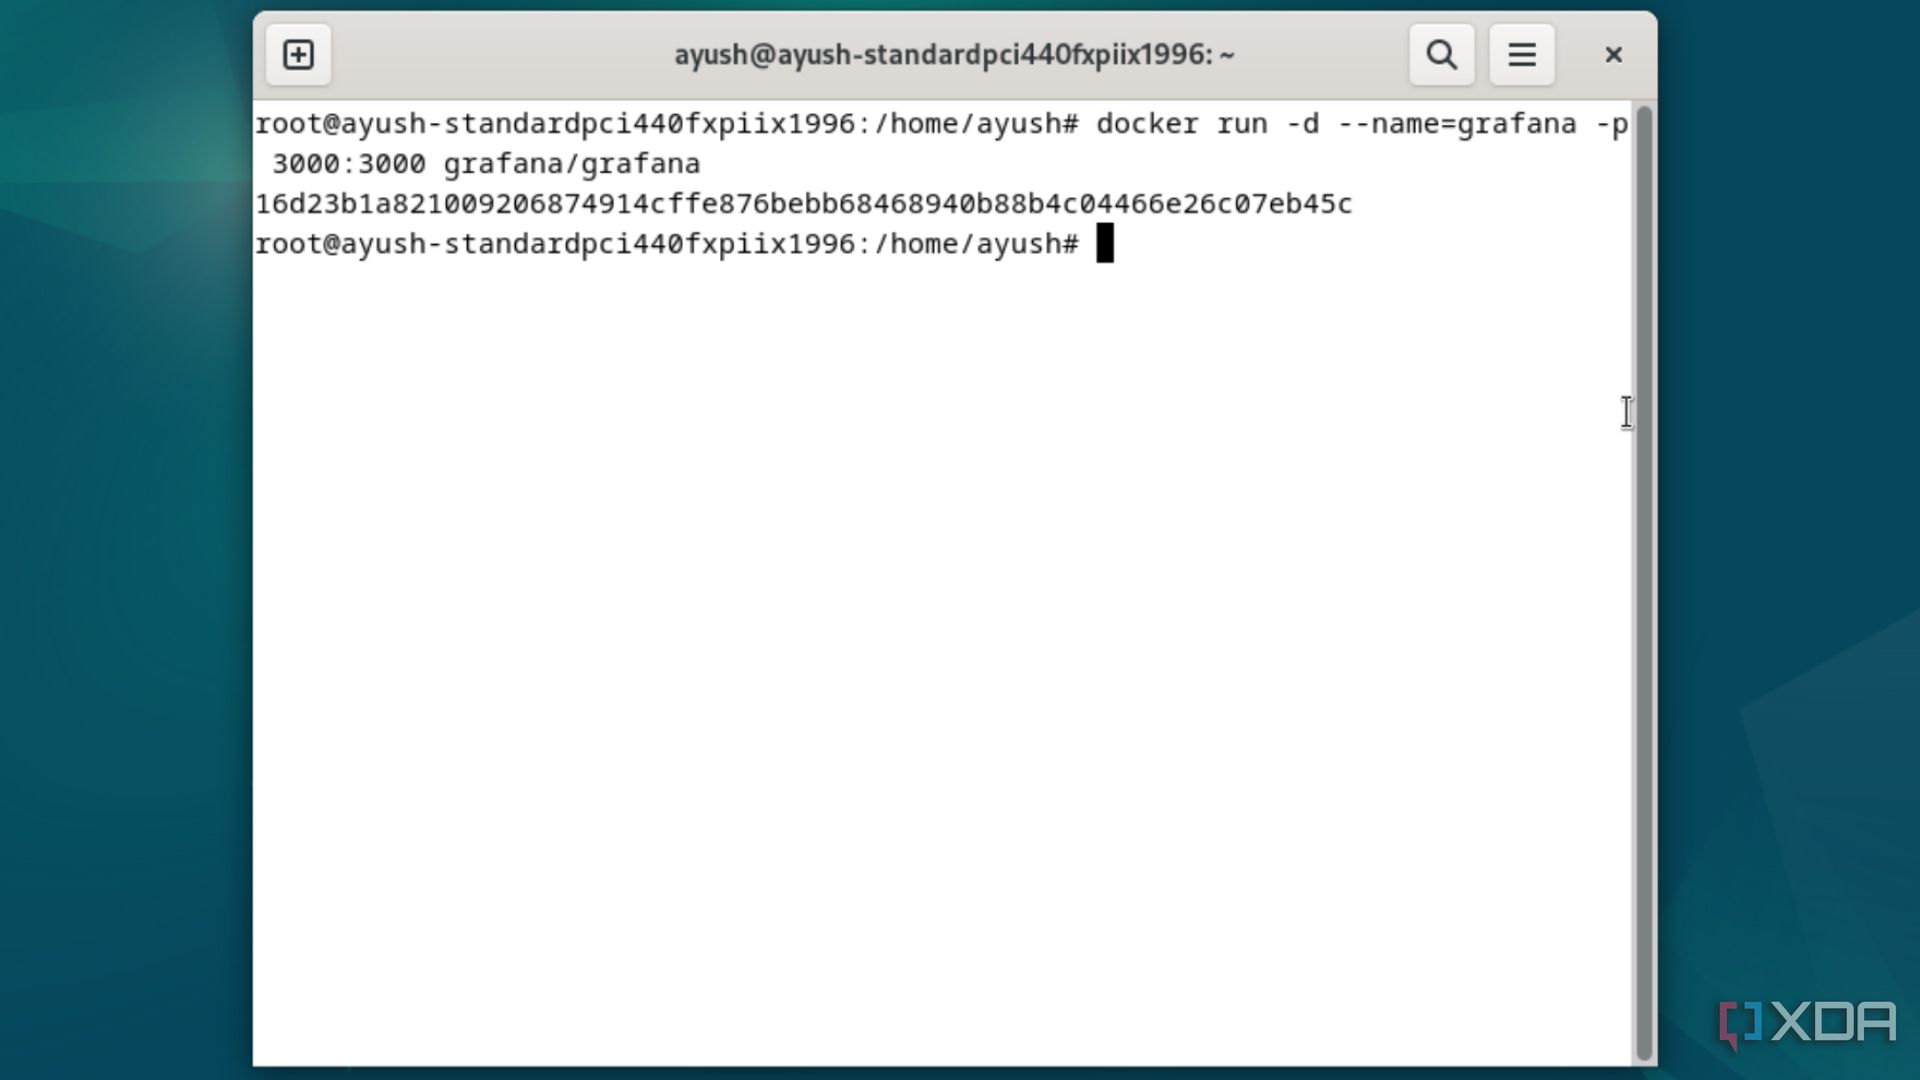
Once you’ve downloaded an image or created a Dockerfile, you can use it with the run command to deploy a container. The docker run command also has a couple of useful flags that let you modify certain aspects of the container without modifying the config file. For instance, the –name flag lets you add a name to the container, while invoking the -p flag allows you to assign the ports to your container.
docker run image_name
5docker exec
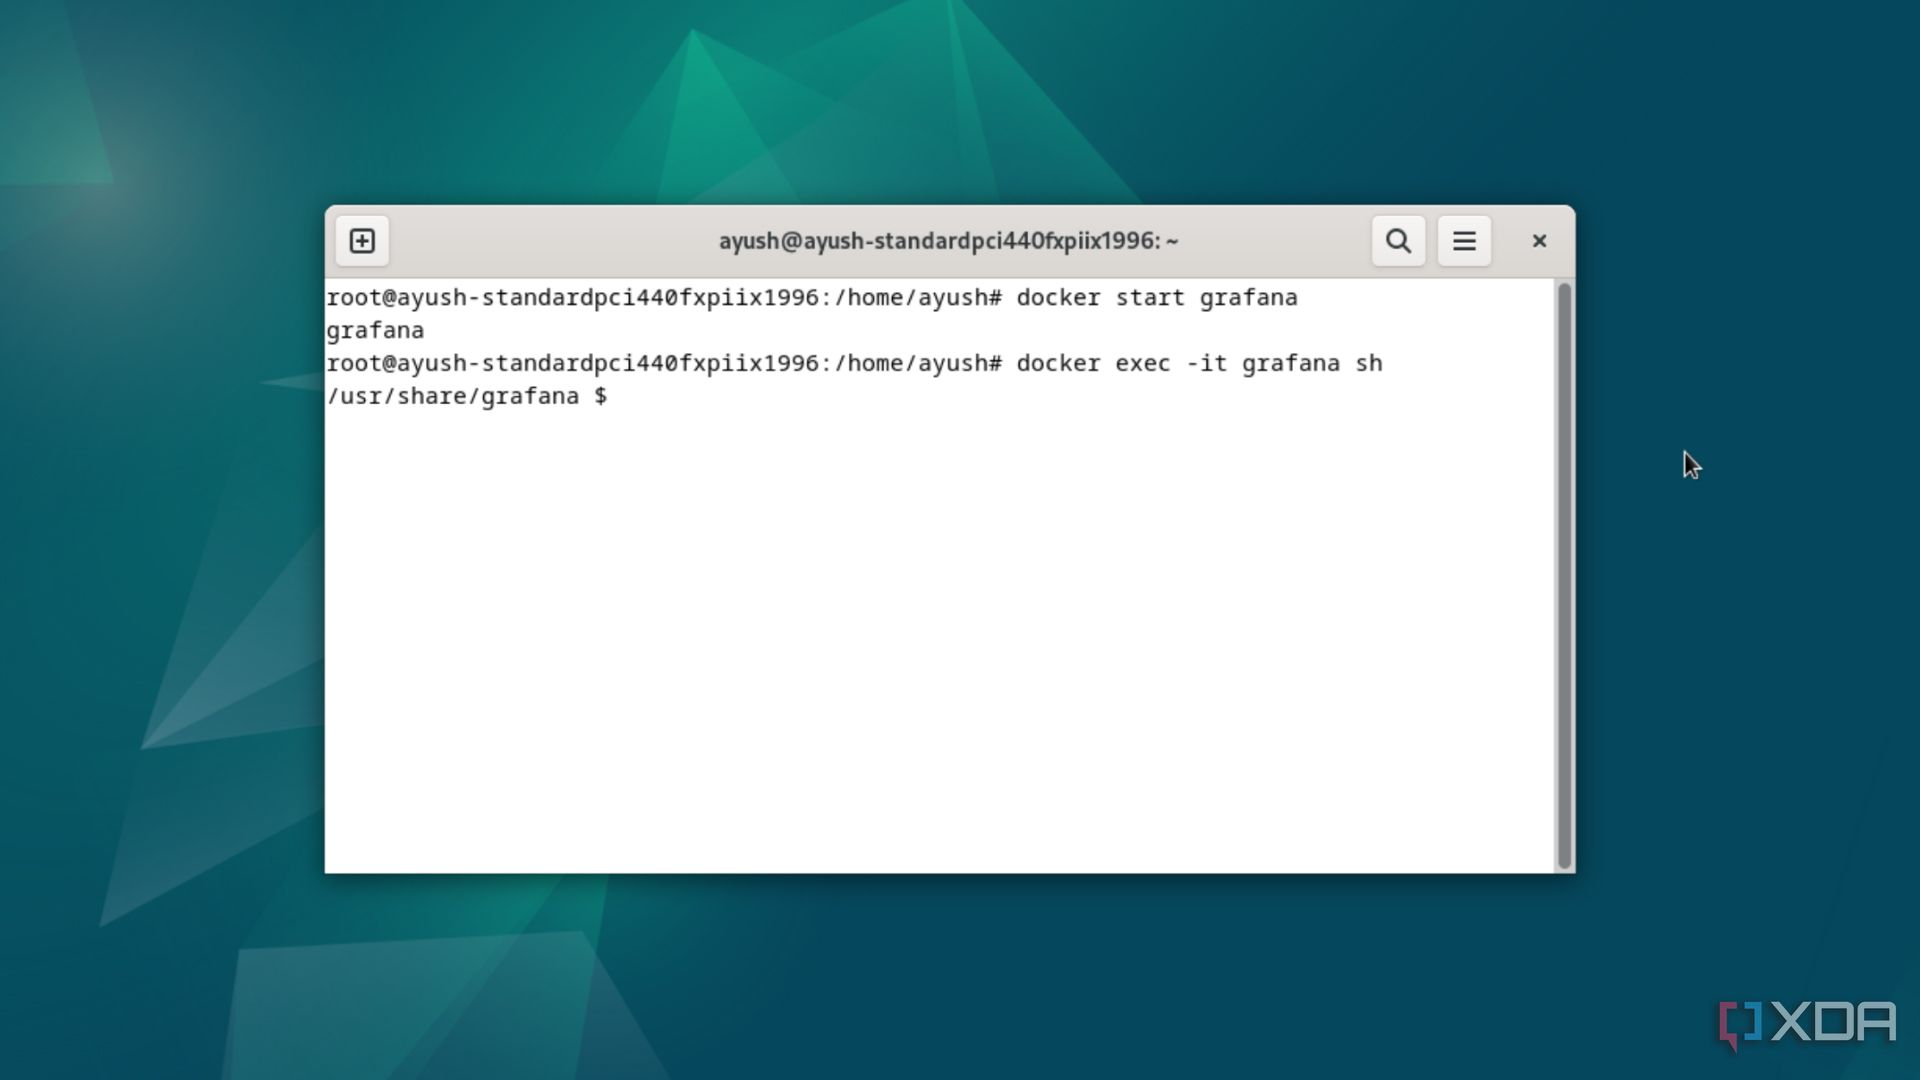
Upon running the exec keyword, you can enter commands inside the container, just like you would on a typical virtual machine. Using exec with the -it container_name sh keywords lets you access the shell interface of the container.
docker exec container_name
6docker stop
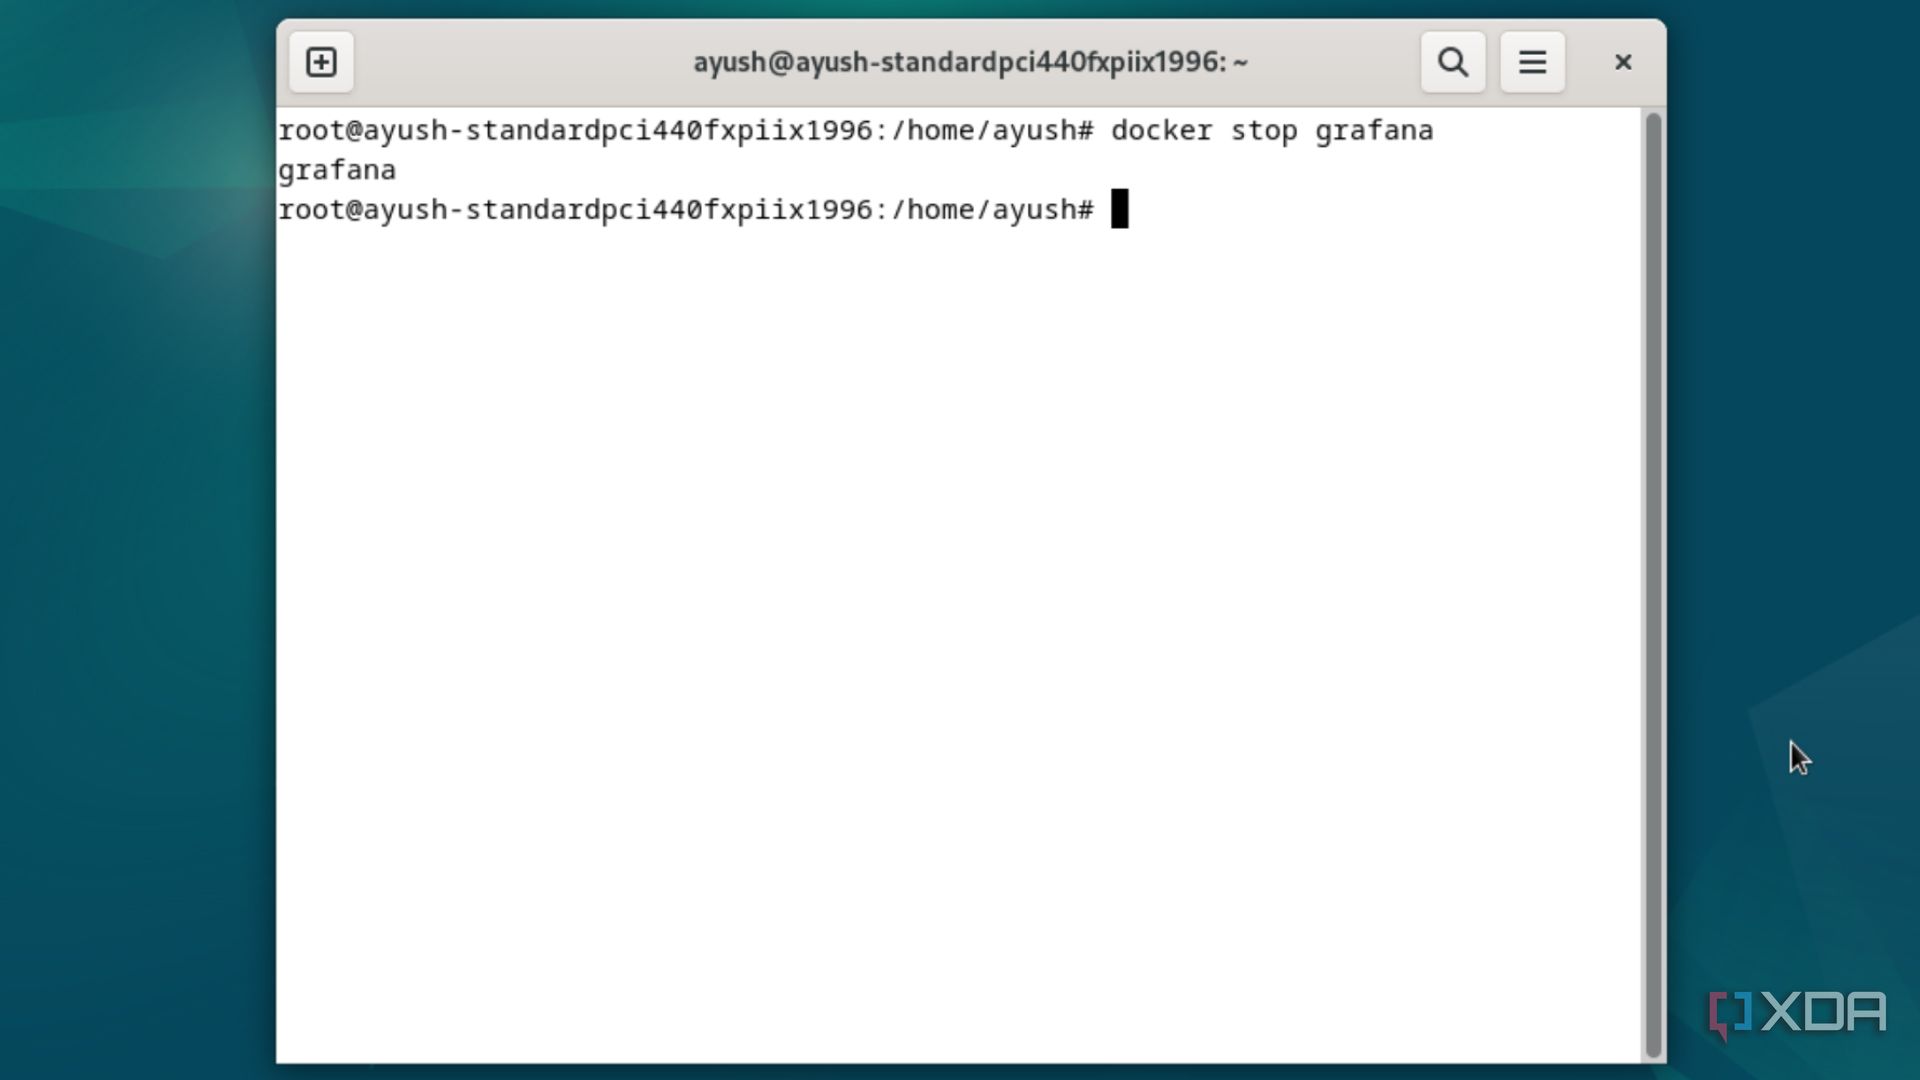
As you may have guessed from the name, the stop command can halt a container, and you won’t be able to access its web UI until you start it again.
docker stop container_name
7docker start
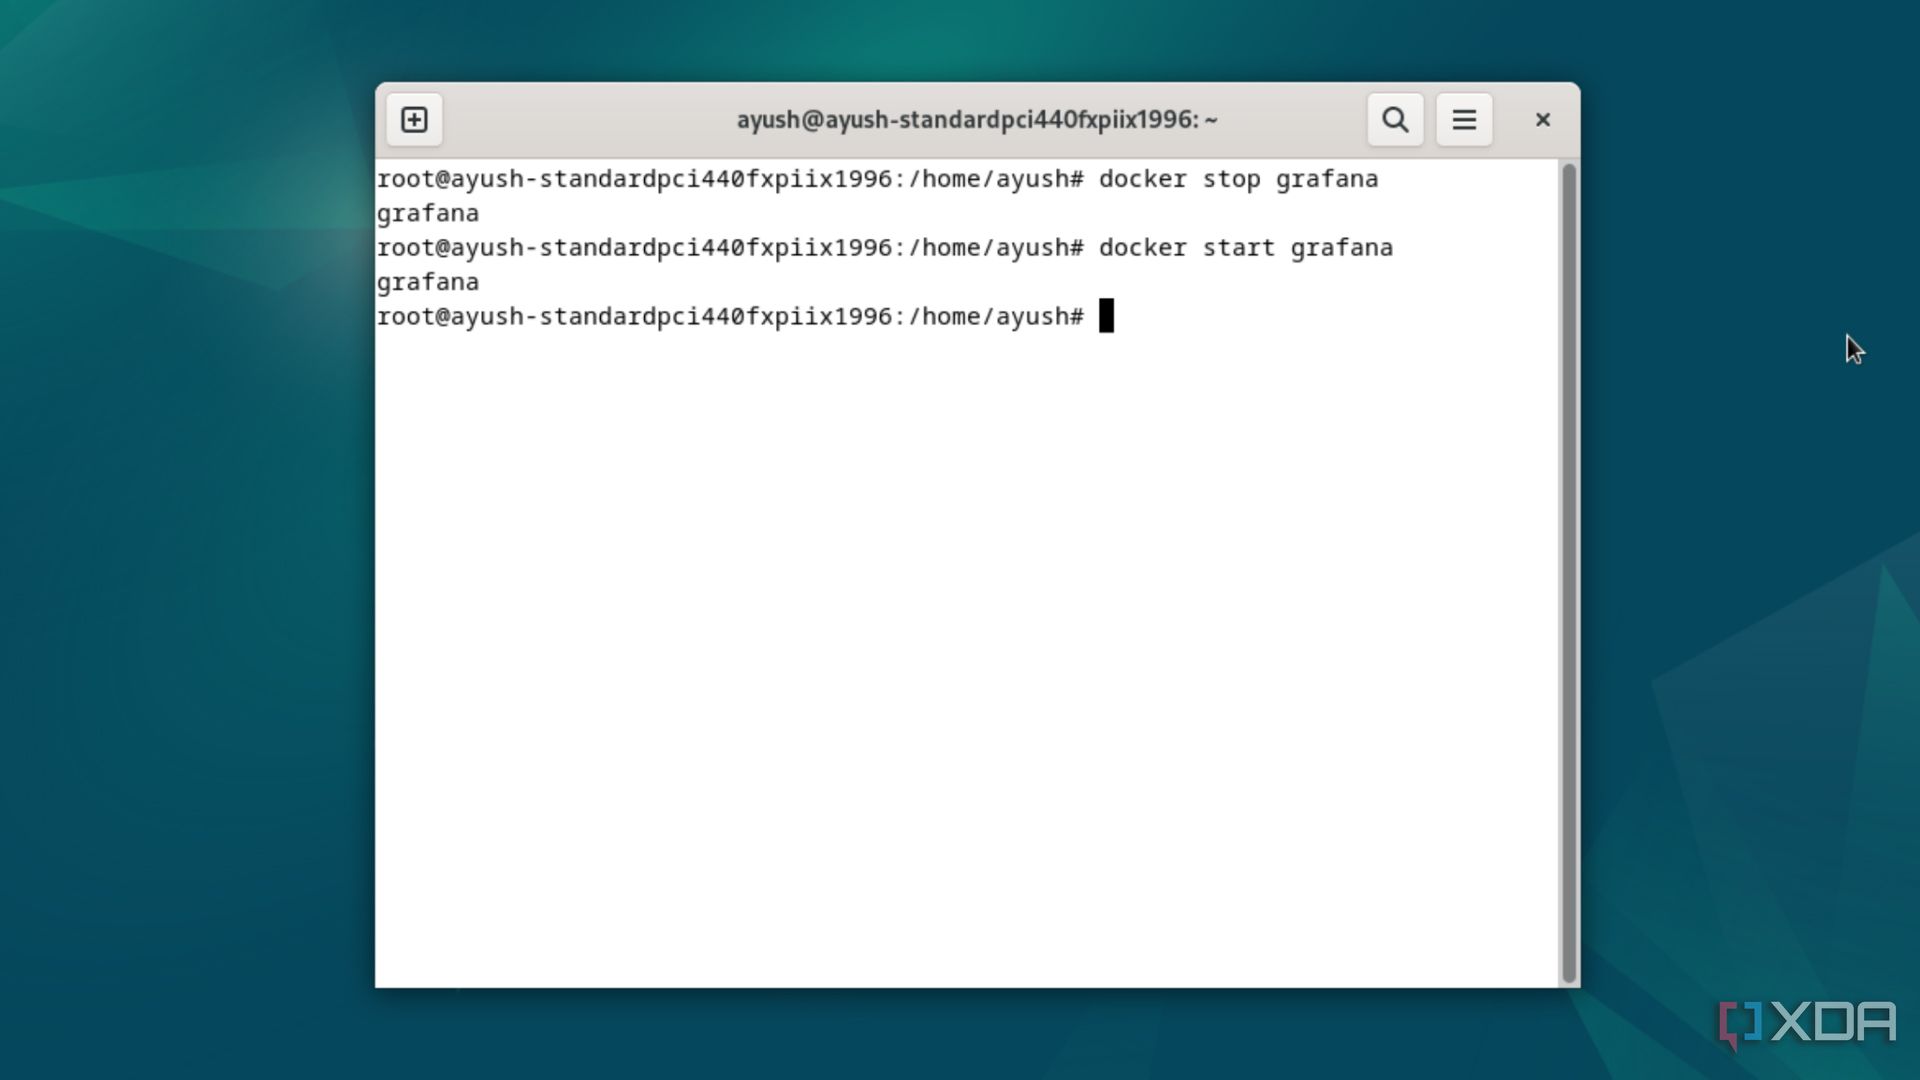
When you need to deploy a container after stopping it or rebooting your system, you’ll want to enter the start command. If you’ve created a checkpoint for the container, you can add the –checkpoint flag to restore it to its saved state.
docker start container_name
8docker compose up
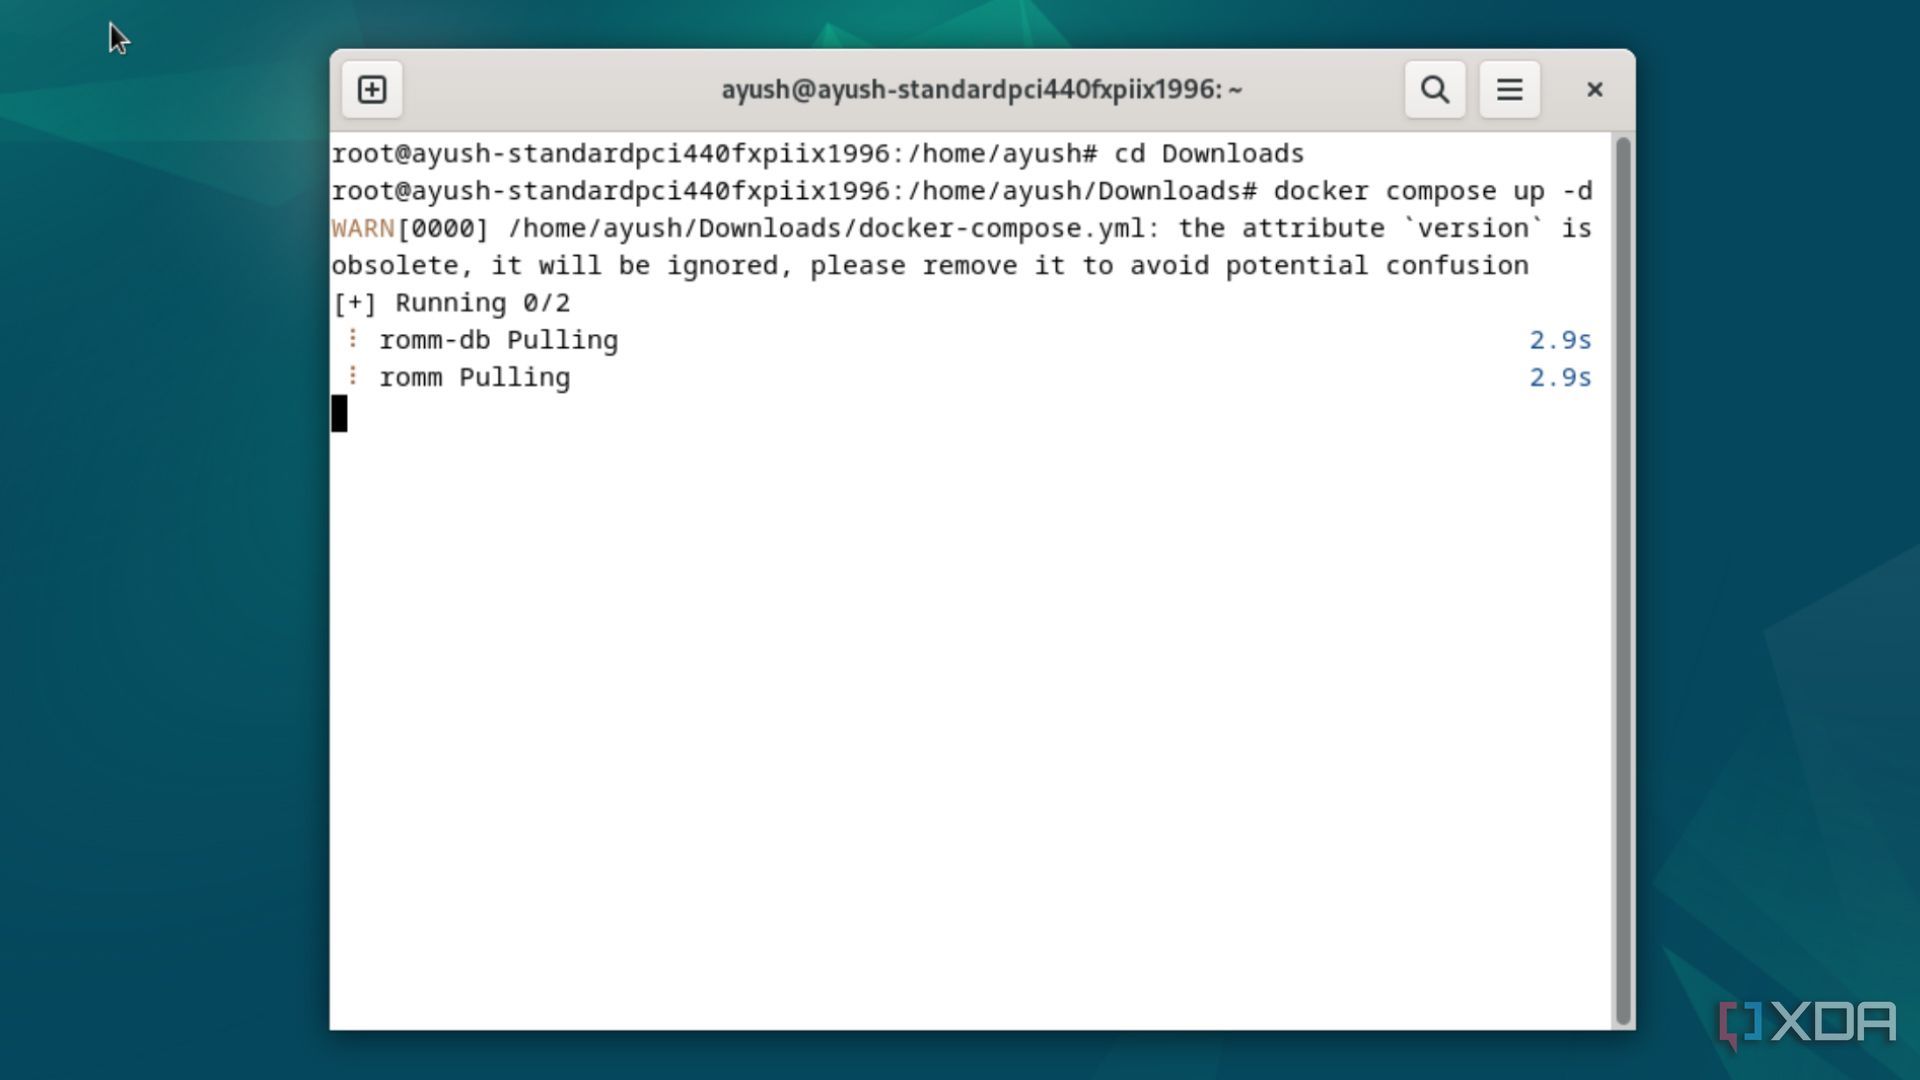
Fans of self-hosted services may have come across docker-compose.yml files inside the GitHub repositories of popular projects. While there are some differences between the two, these yaml files act somewhat similar to Dockerfile documents, and you can use them to run an application as a container with the help of the docker compose up command.
docker compose up
If you’re using the Docker Compose standalone plugin, you’ll have to add a hyphen (-) symbol between docker and compose .

Related
How to install Docker on your Raspberry Pi
Through the use of Docker, you can quickly get new software and services up and running on your Raspberry Pi. Here’s how to get it installed.
9docker inspect
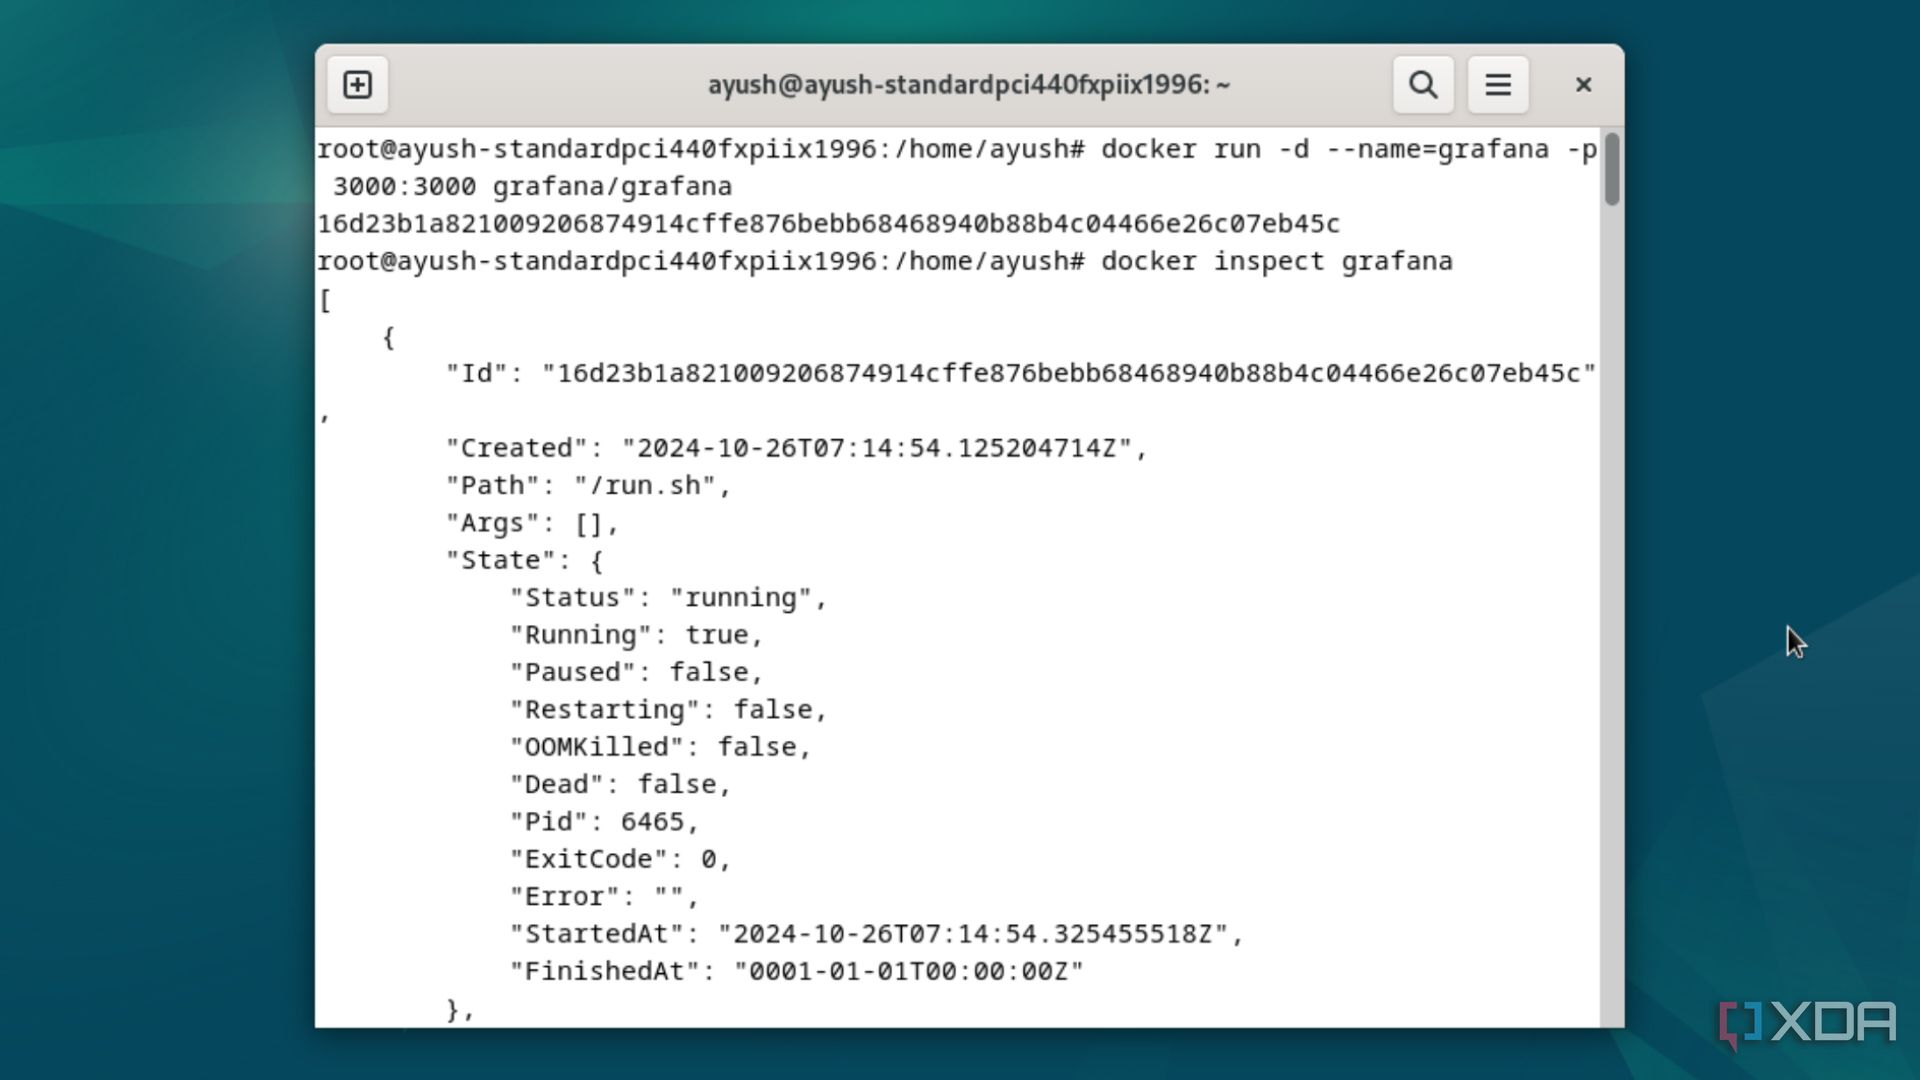
The inspect keyword lets you check the ID, host-path, and other config-esque details of a container in the same format as your typical JSON array.
docker inspect container_name
10docker logs

Entering the docker logs command displays a logbook with the container operational metrics. You can invoke the –details option to get even more details about the container’s operations.
docker logs container_name
11docker cp
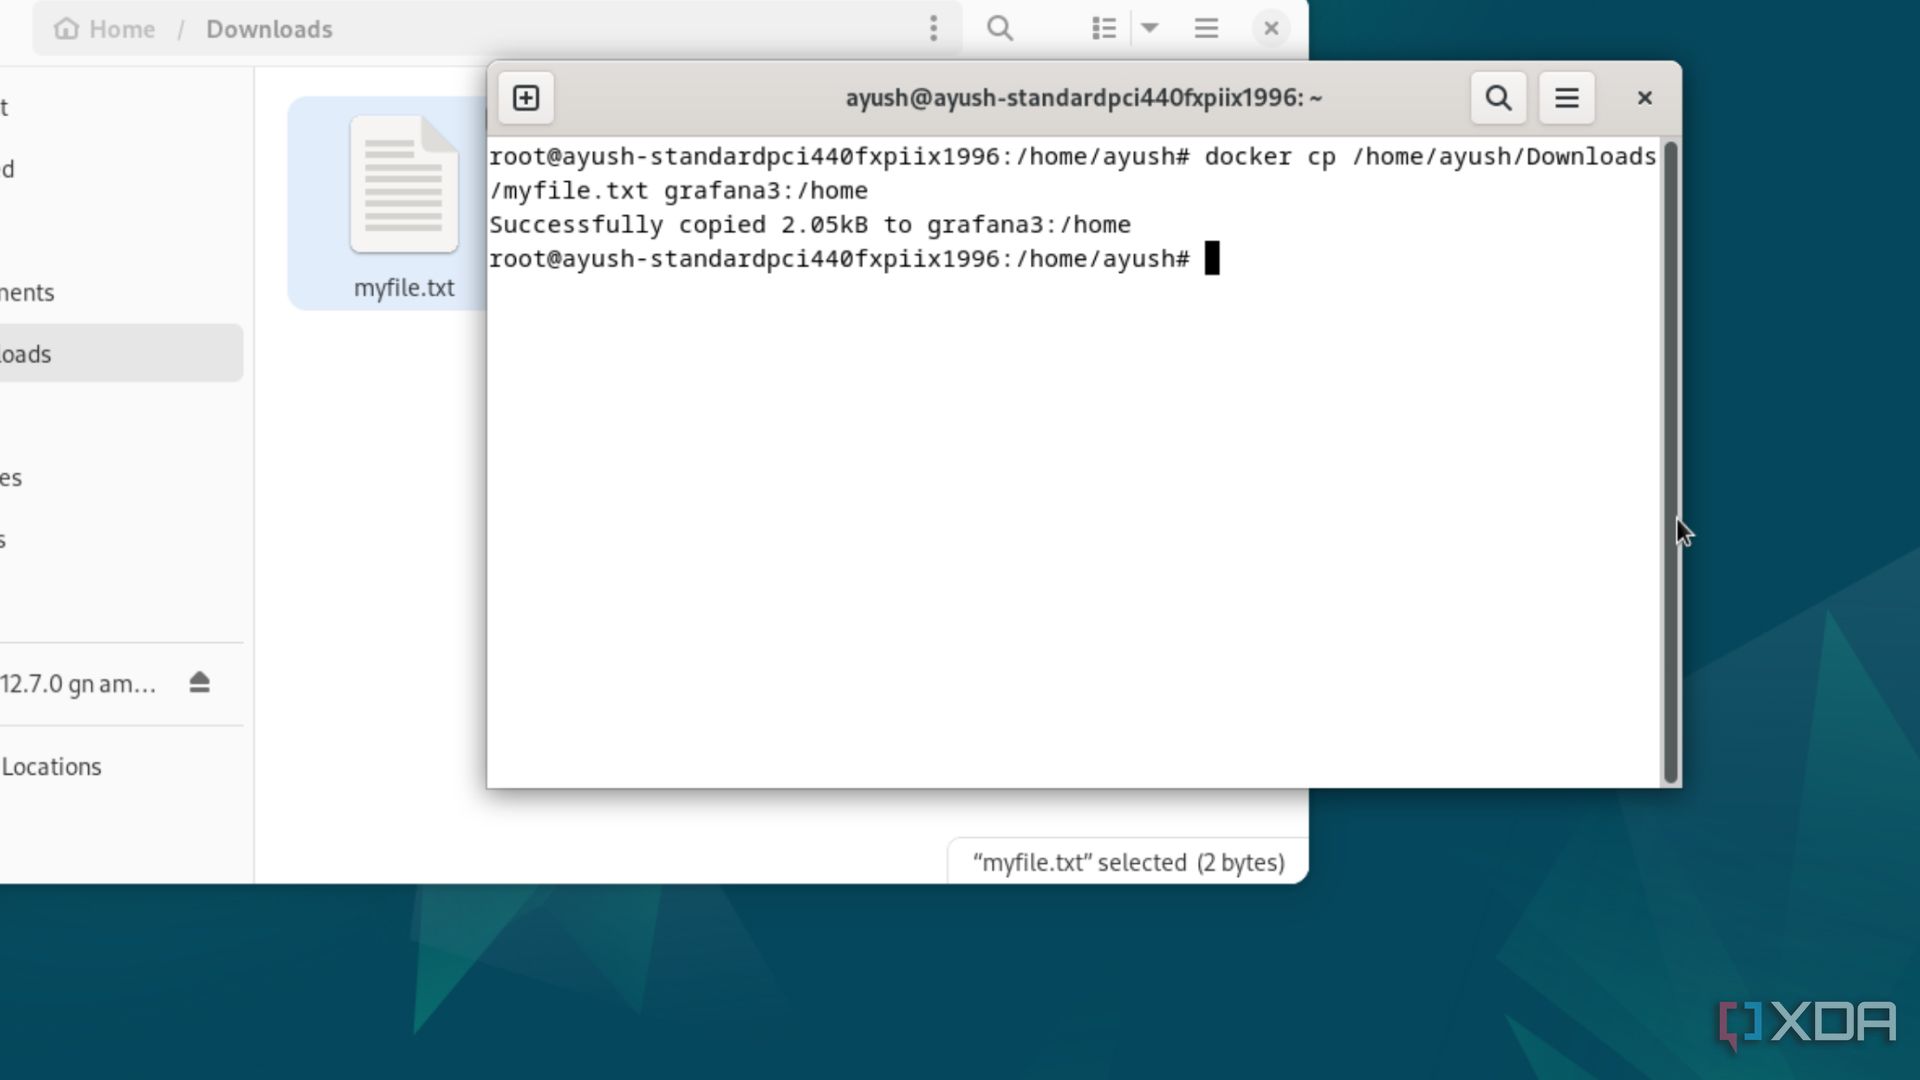
The docker cp command lets you copy some files from your PC and paste them at a specific location inside your container. Just make sure you set the correct path for the file when attempting the copy operation.
docker cp /path_to_file/file_name container_name:/folder_name
12docker stats
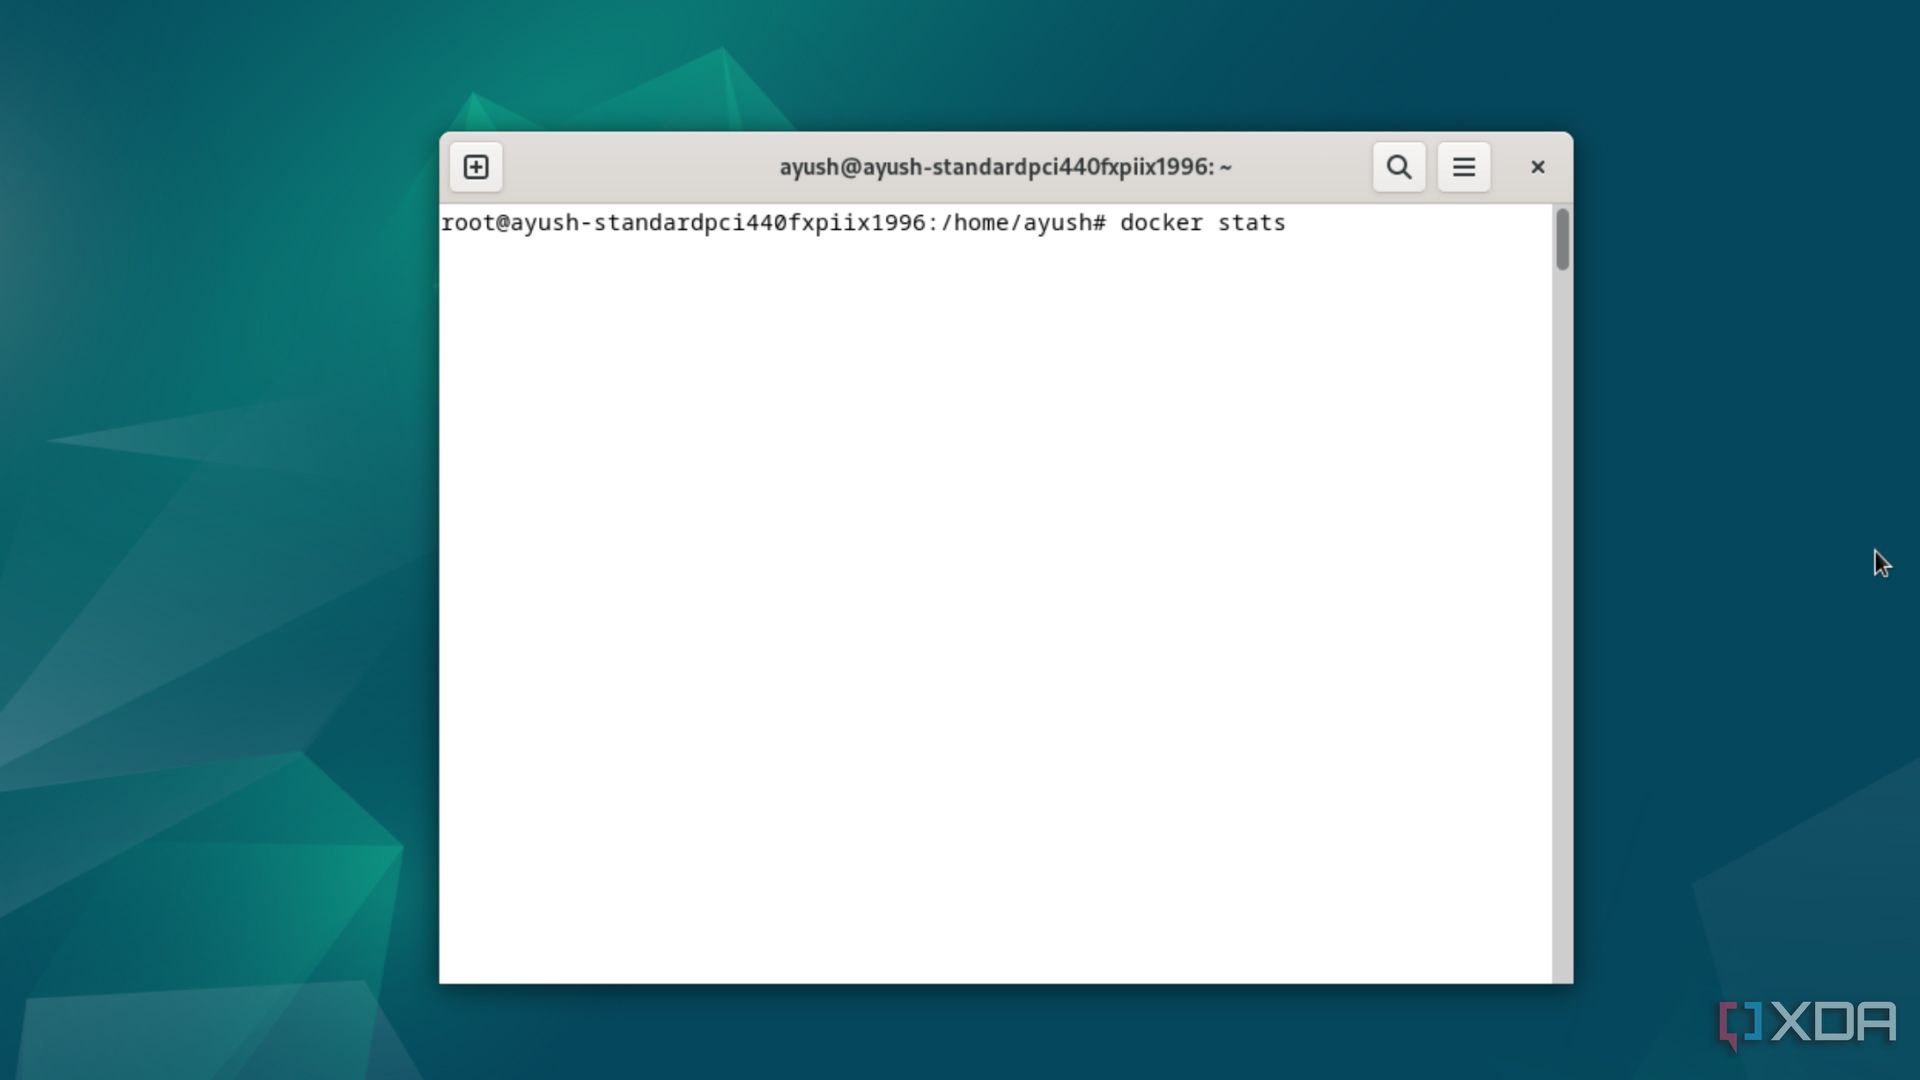
Should you run the docker stats command, the terminal will display the resource consumption of all containers in real time. If you want to track a single container, you can add its name after the stats keyword.
docker stats
13docker info

Meanwhile, docker info shows the statistics of the system that’s running the Docker services. It’s useful when you want to check the location of certain container directories.
docker info
14docker ps
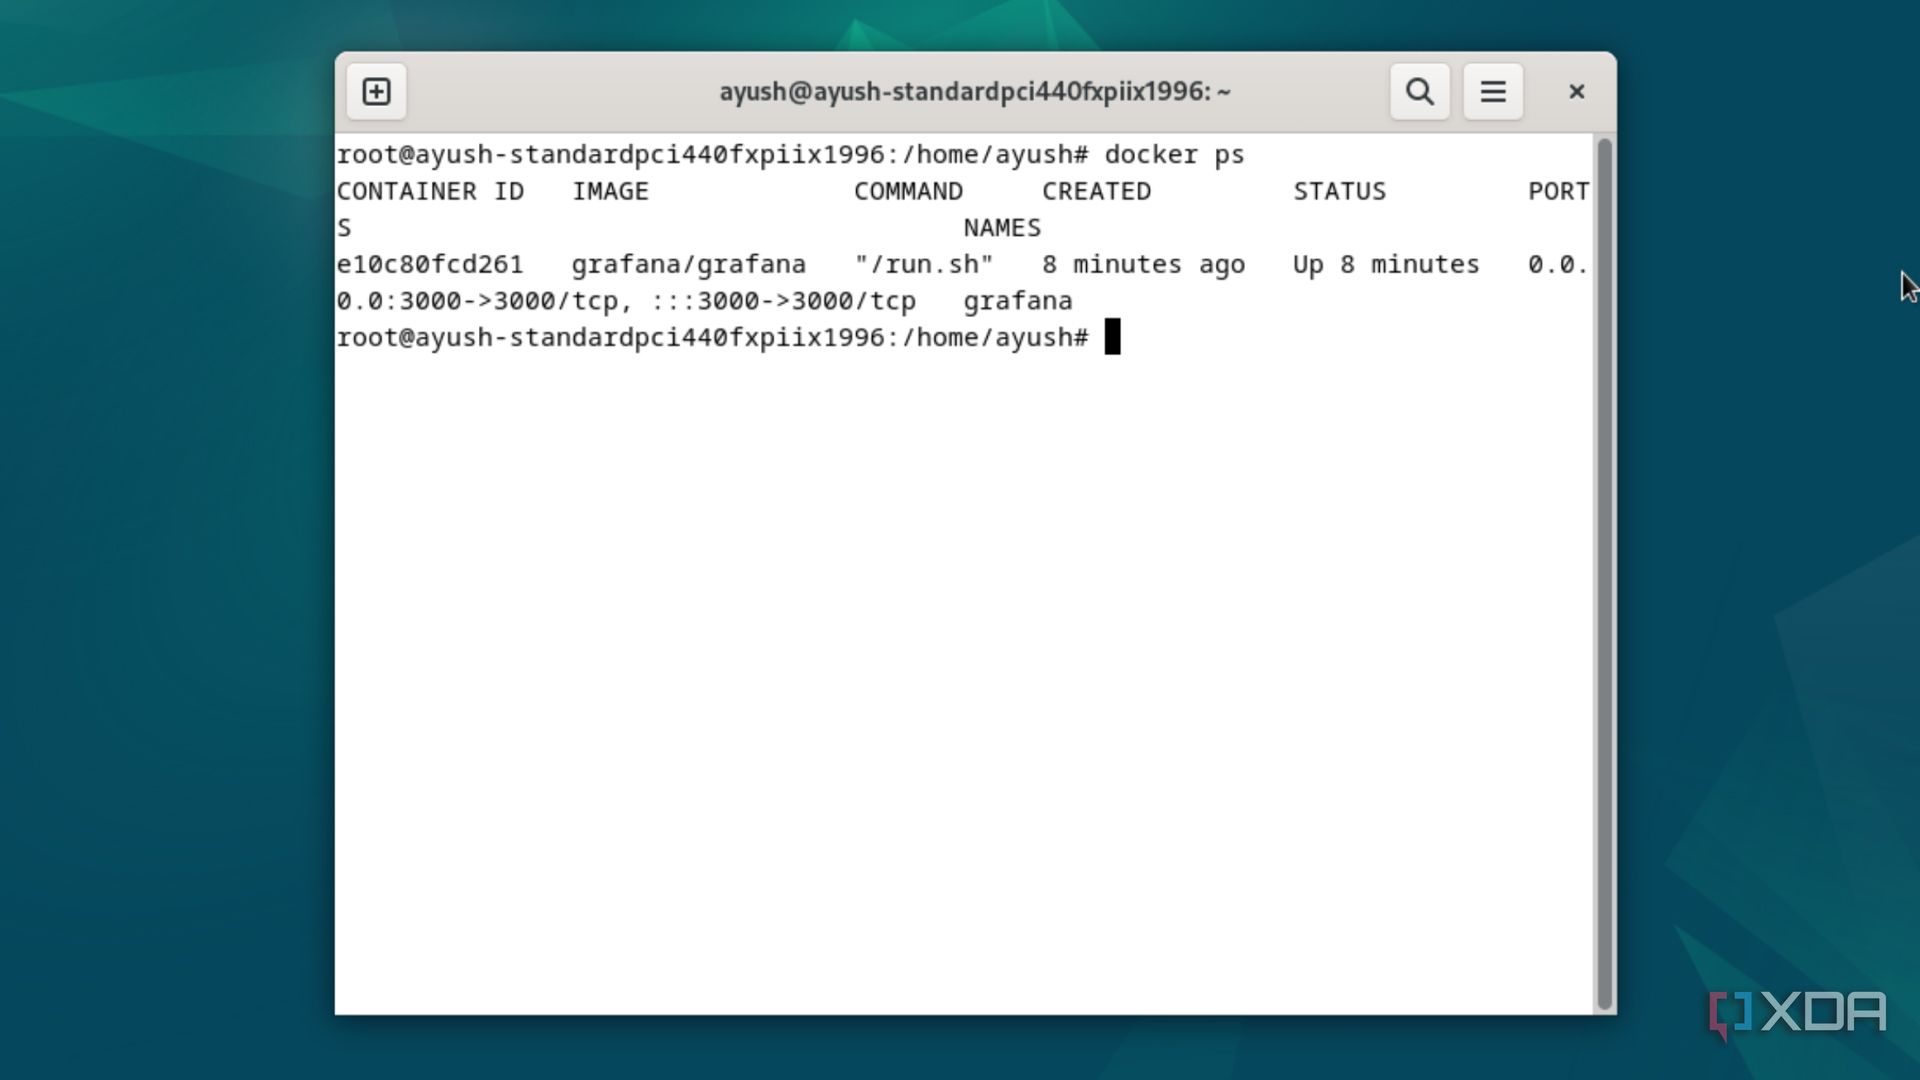
You can execute the docker ps command to check the operational status, occupied ports, and time of creation of all containers. Unlike the docker stats command, ps only displays the current values instead of running a live resource tracker for your containers.
docker ps
15docker port
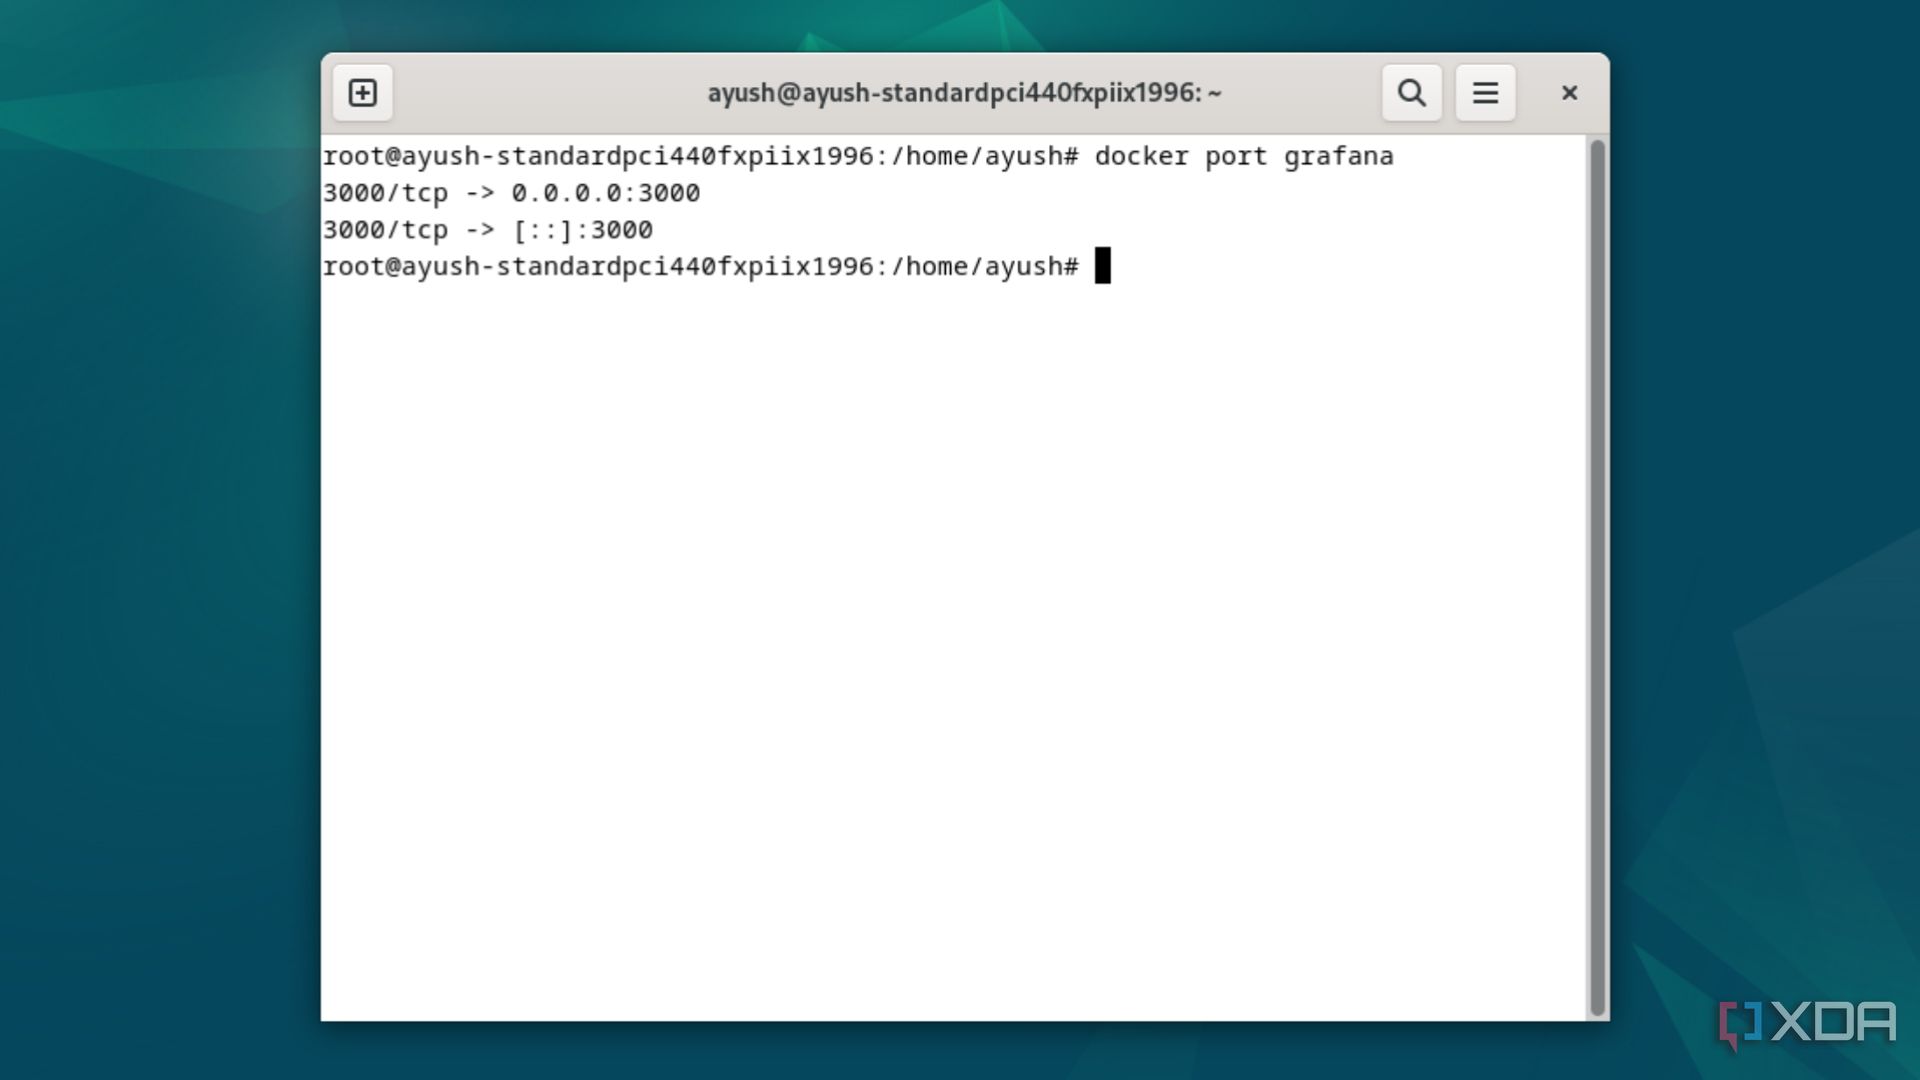
Once you start running multiple containers, it’s easy to get your ports mixed up. The port keyword lets you check all the ports occupied by a specific container.
docker port container_name
16docker rmi

Let’s say you want to get rid of an image you downloaded from the Docker Hub or other registries. To do so, simply enter the rmi keyword followed by the name of the image.
docker rmi image_name
17docker rm
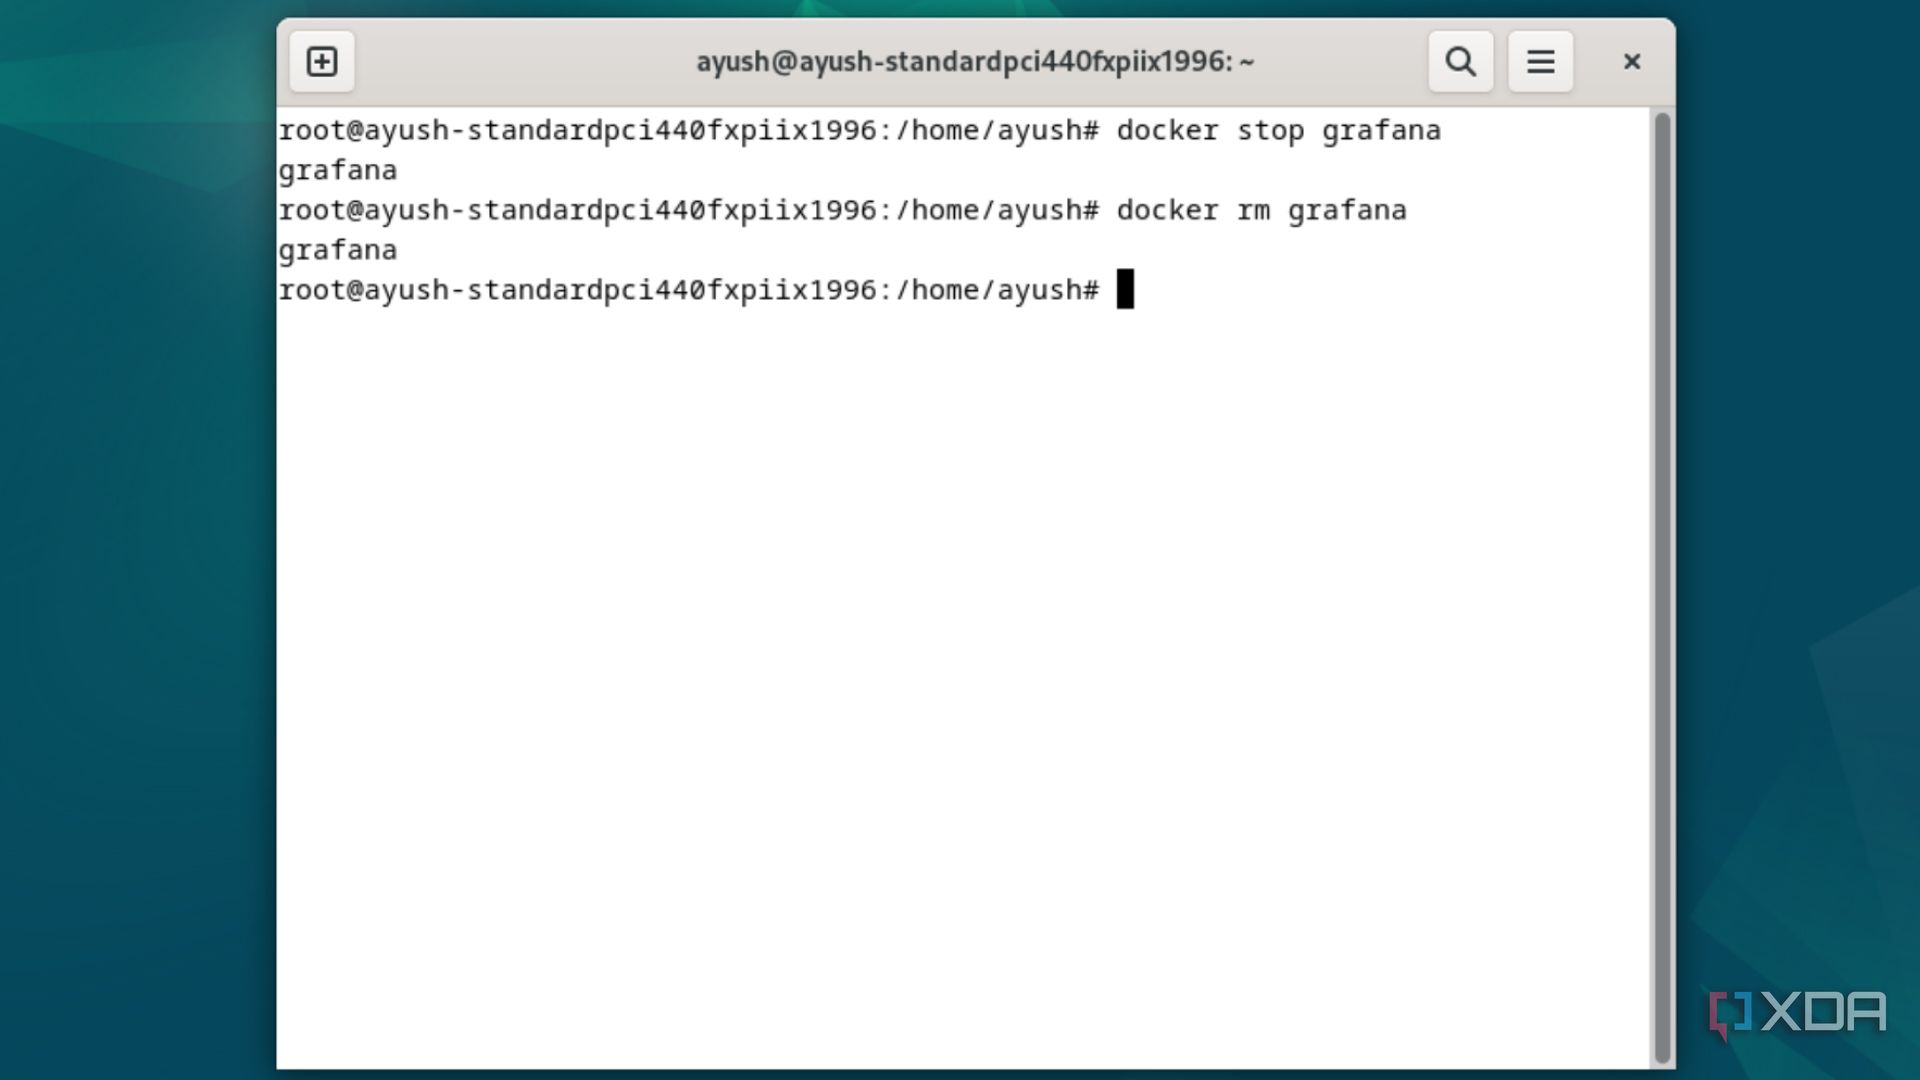
The docker rm command is the equivalent of the rmi keyword for containers, except, the container has to be in an offline (stopped) state before you can get rid of it.
docker rm container_name
18docker system prune
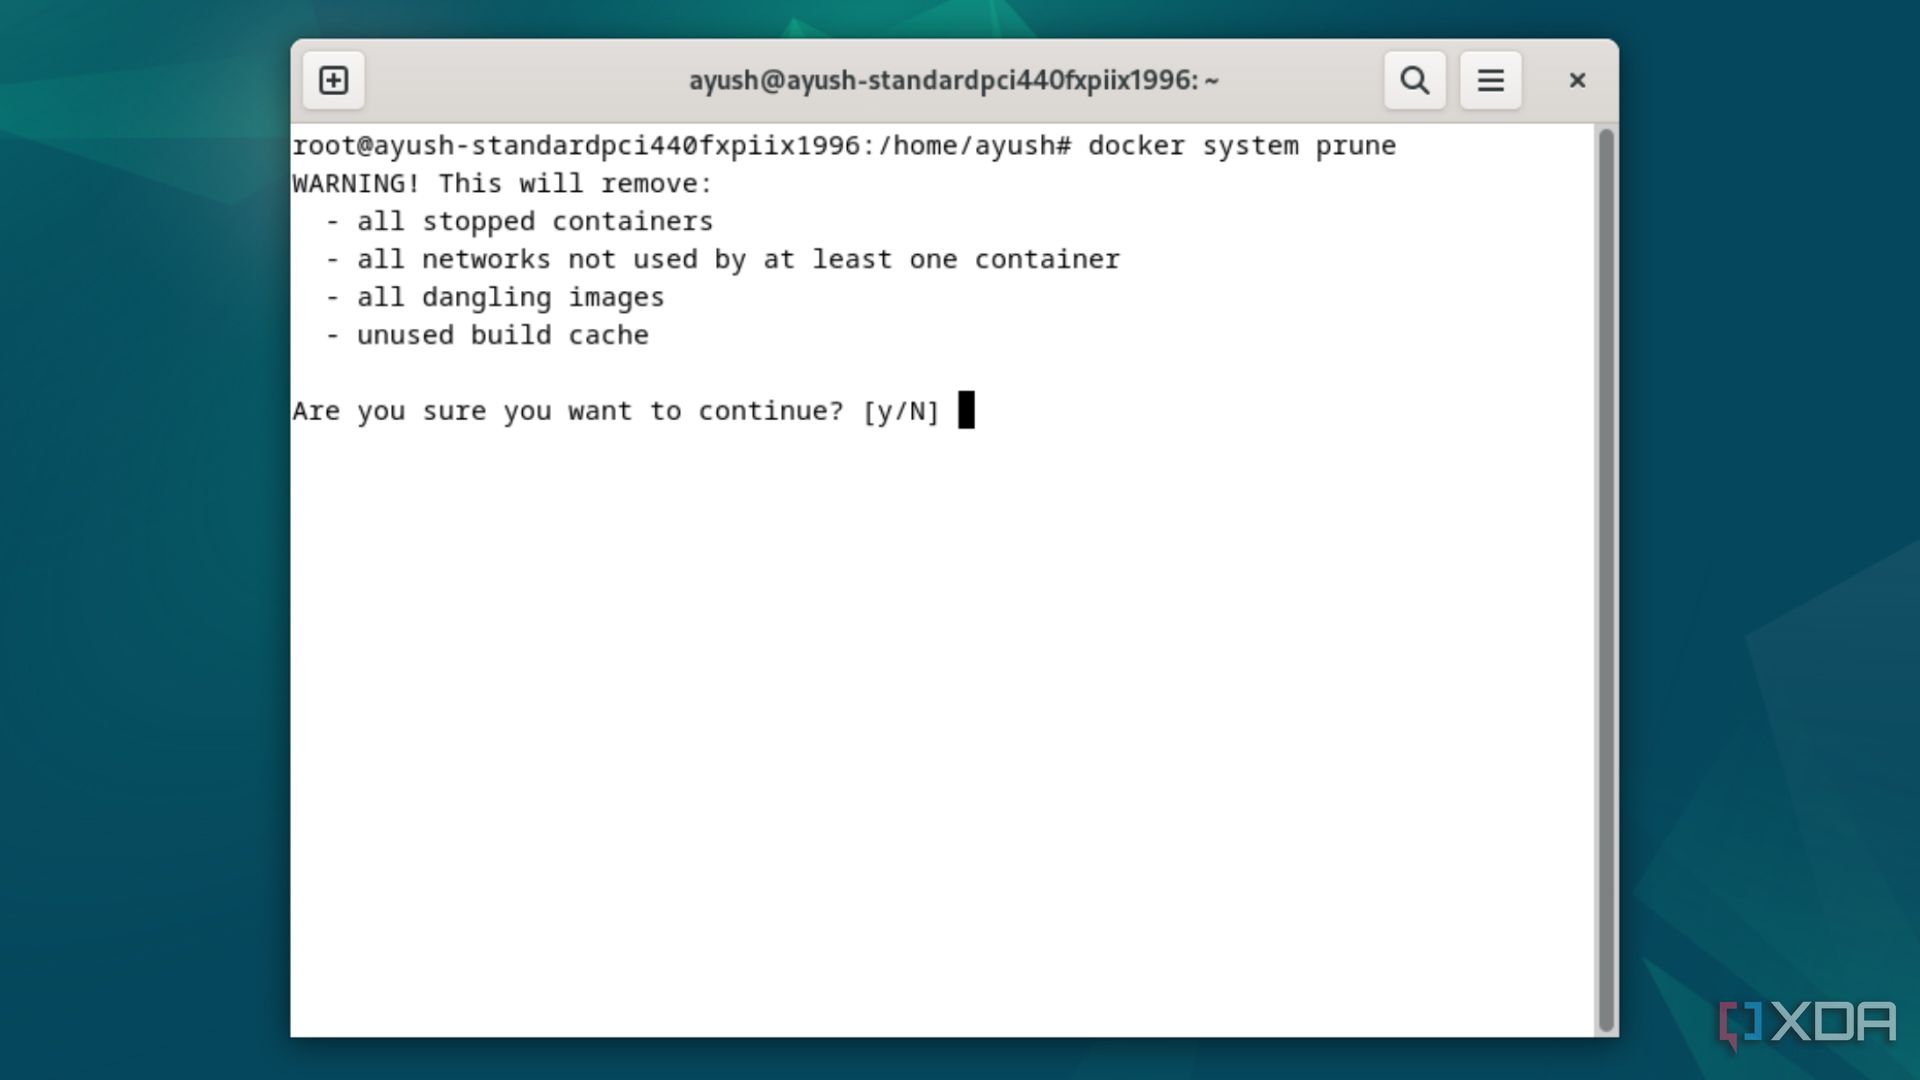
Often used with the -a flag, executing this command will get rid of all the unused Docker images and containers in your system.
docker system prune -a
19docker search
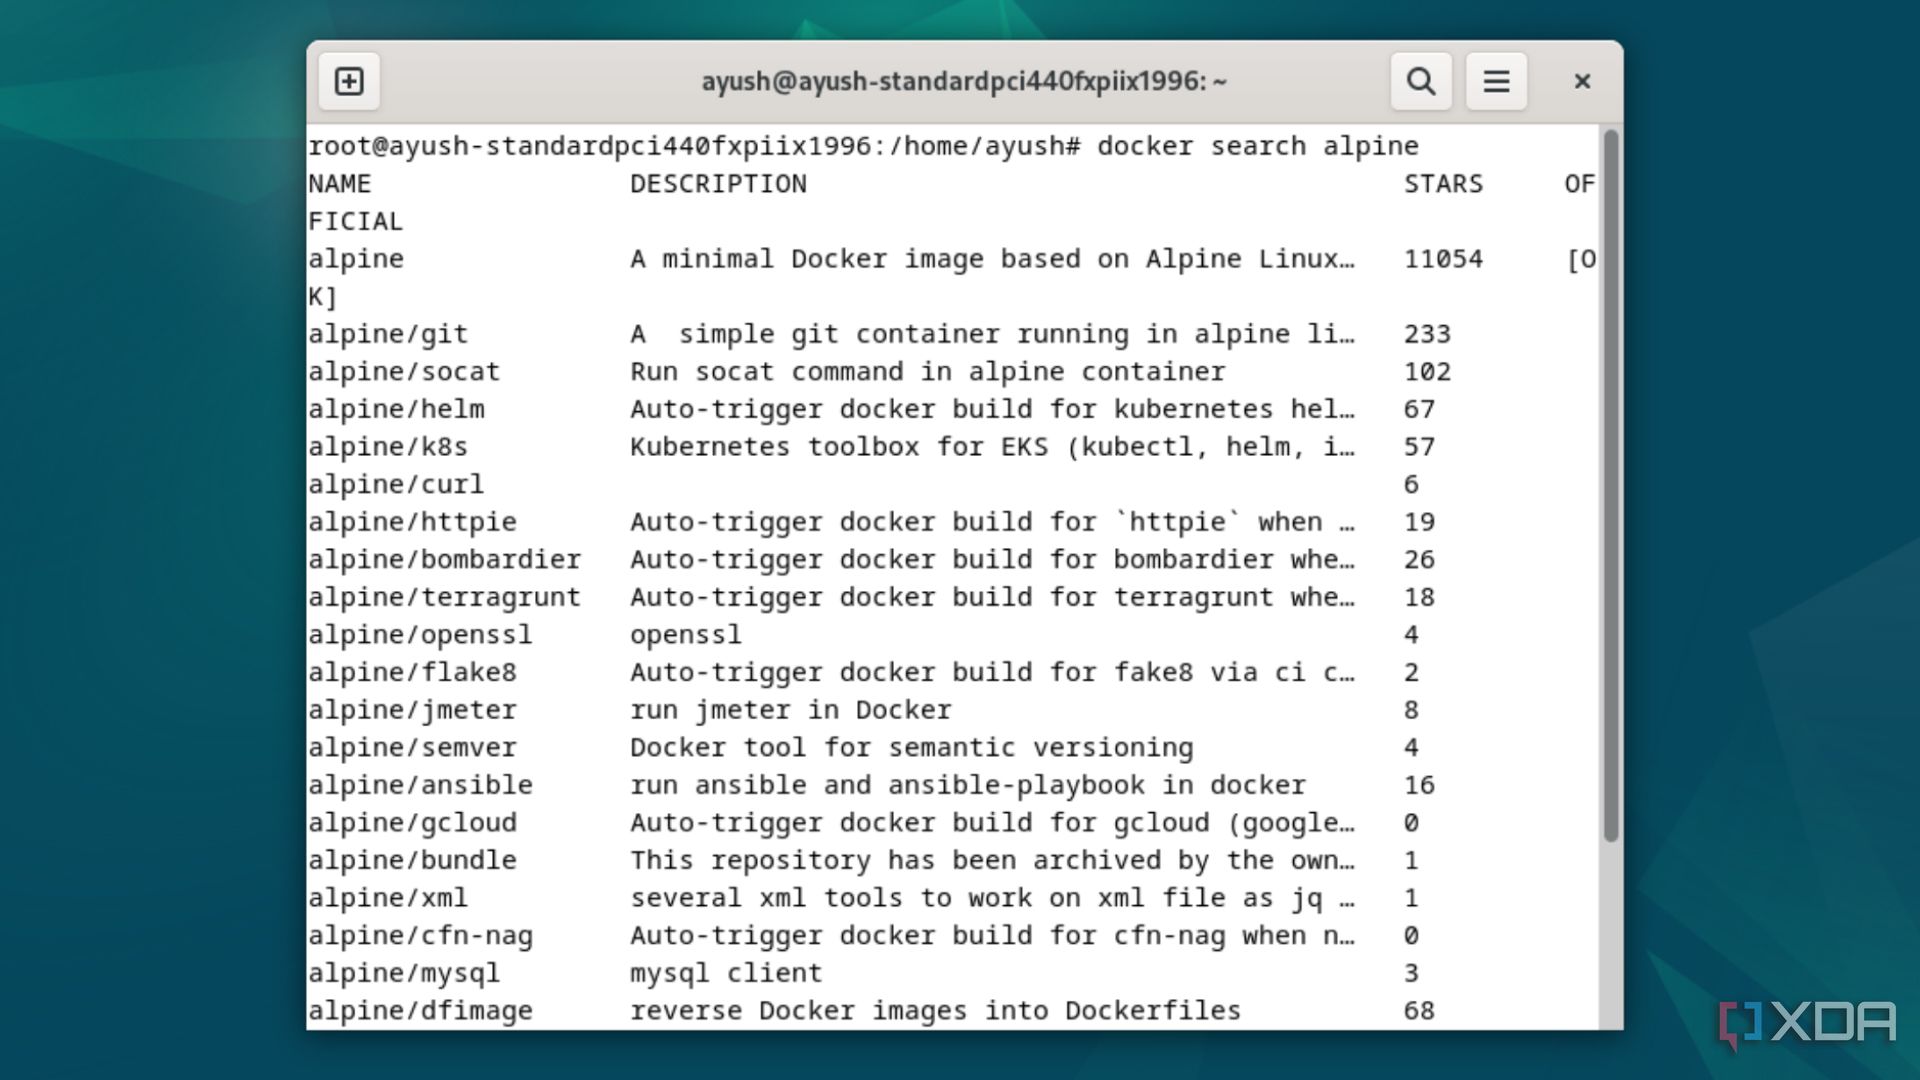
You can run the search keyword to browse the official Docker Hub for a specific image. It’s quite useful in CLI-only distros where you want to search for Docker images without the aid of a browser.
docker search image_name
20docker image history
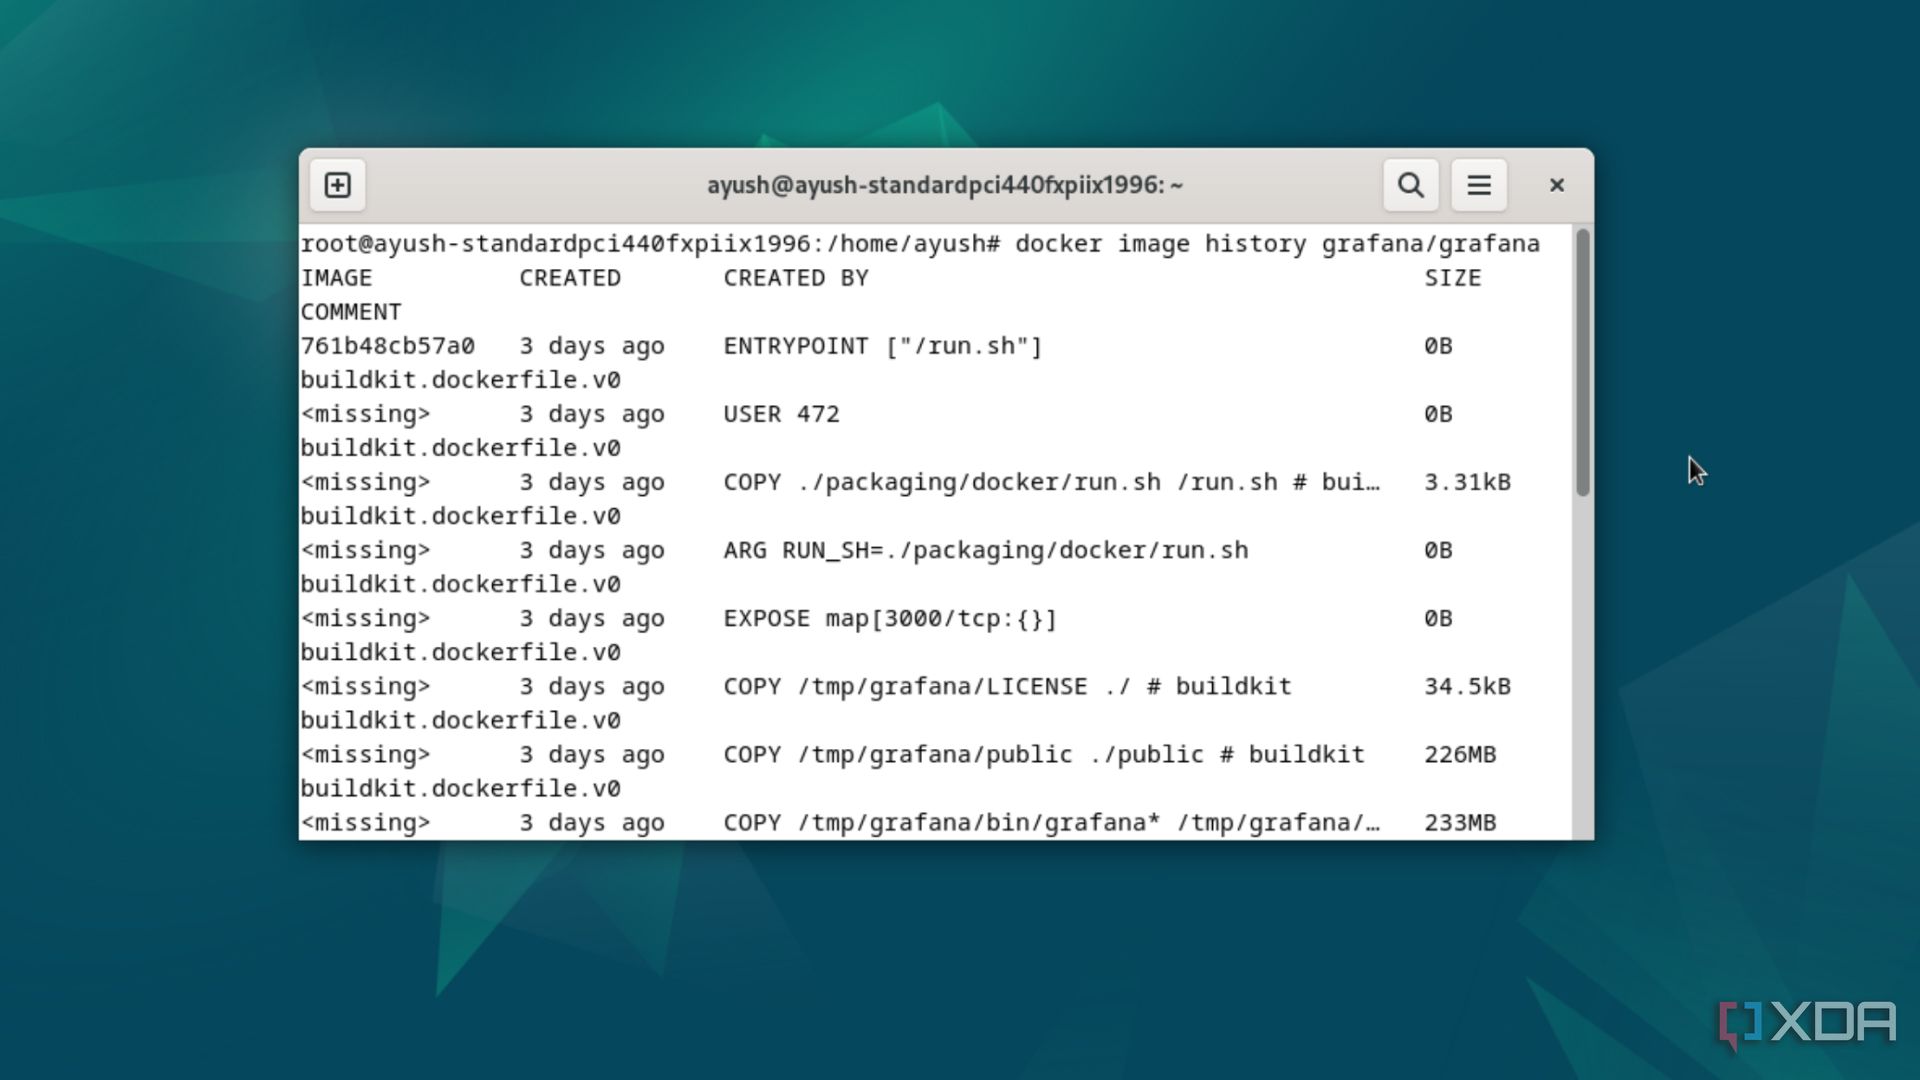
The history keyword allows you to browse the changelog of an image, regardless of whether it’s a community image or something you created…
docker image history image_name
21docker commit
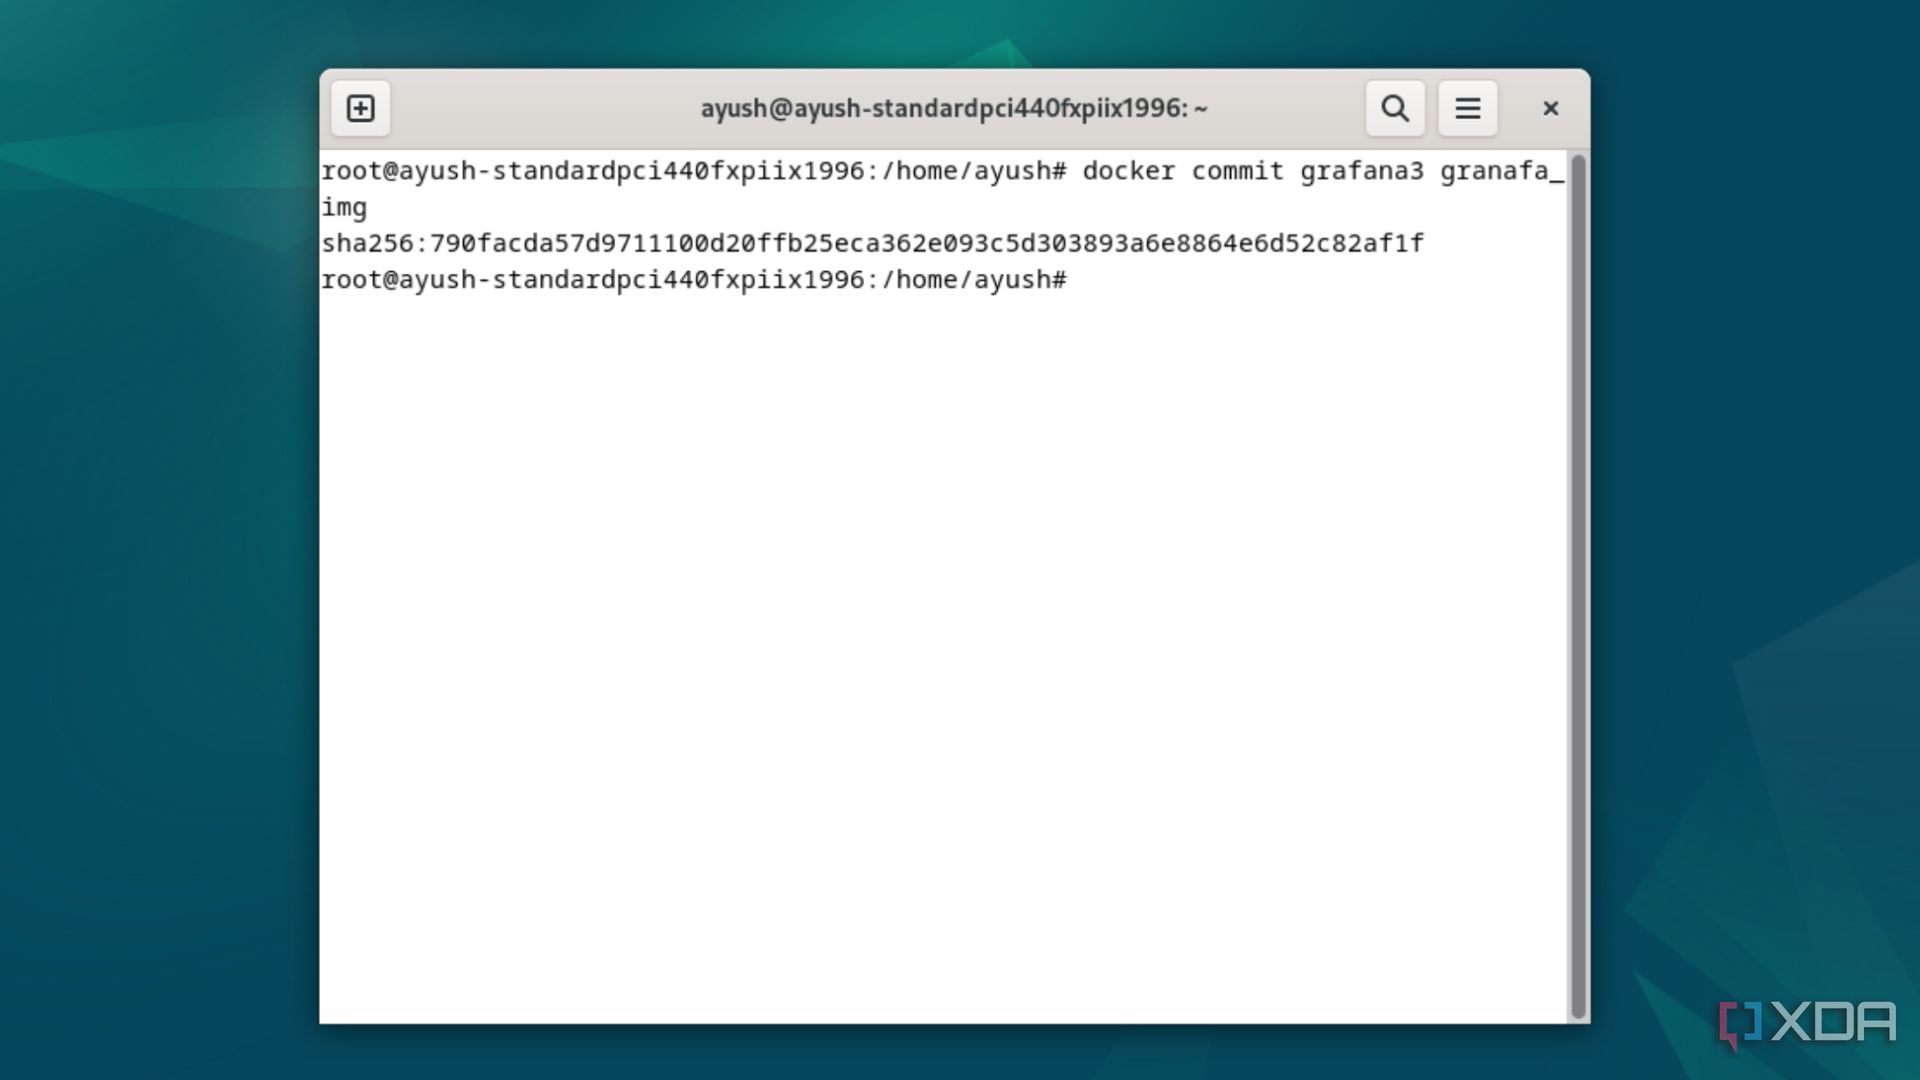
Once you start customizing your containers, you can enter the docker commit command to save the current configuration of a container as an image.
docker commit container_name new_image_name
22docker login

The login keyword lets you sign in to your Docker account using a web UI, though you can add the –u username and -p user_password strings to log into your account from the CLI. In case you want to sign in to a different registry, you’ll want to add the name of the registry after login.
docker login -u username -p user_password
23docker push
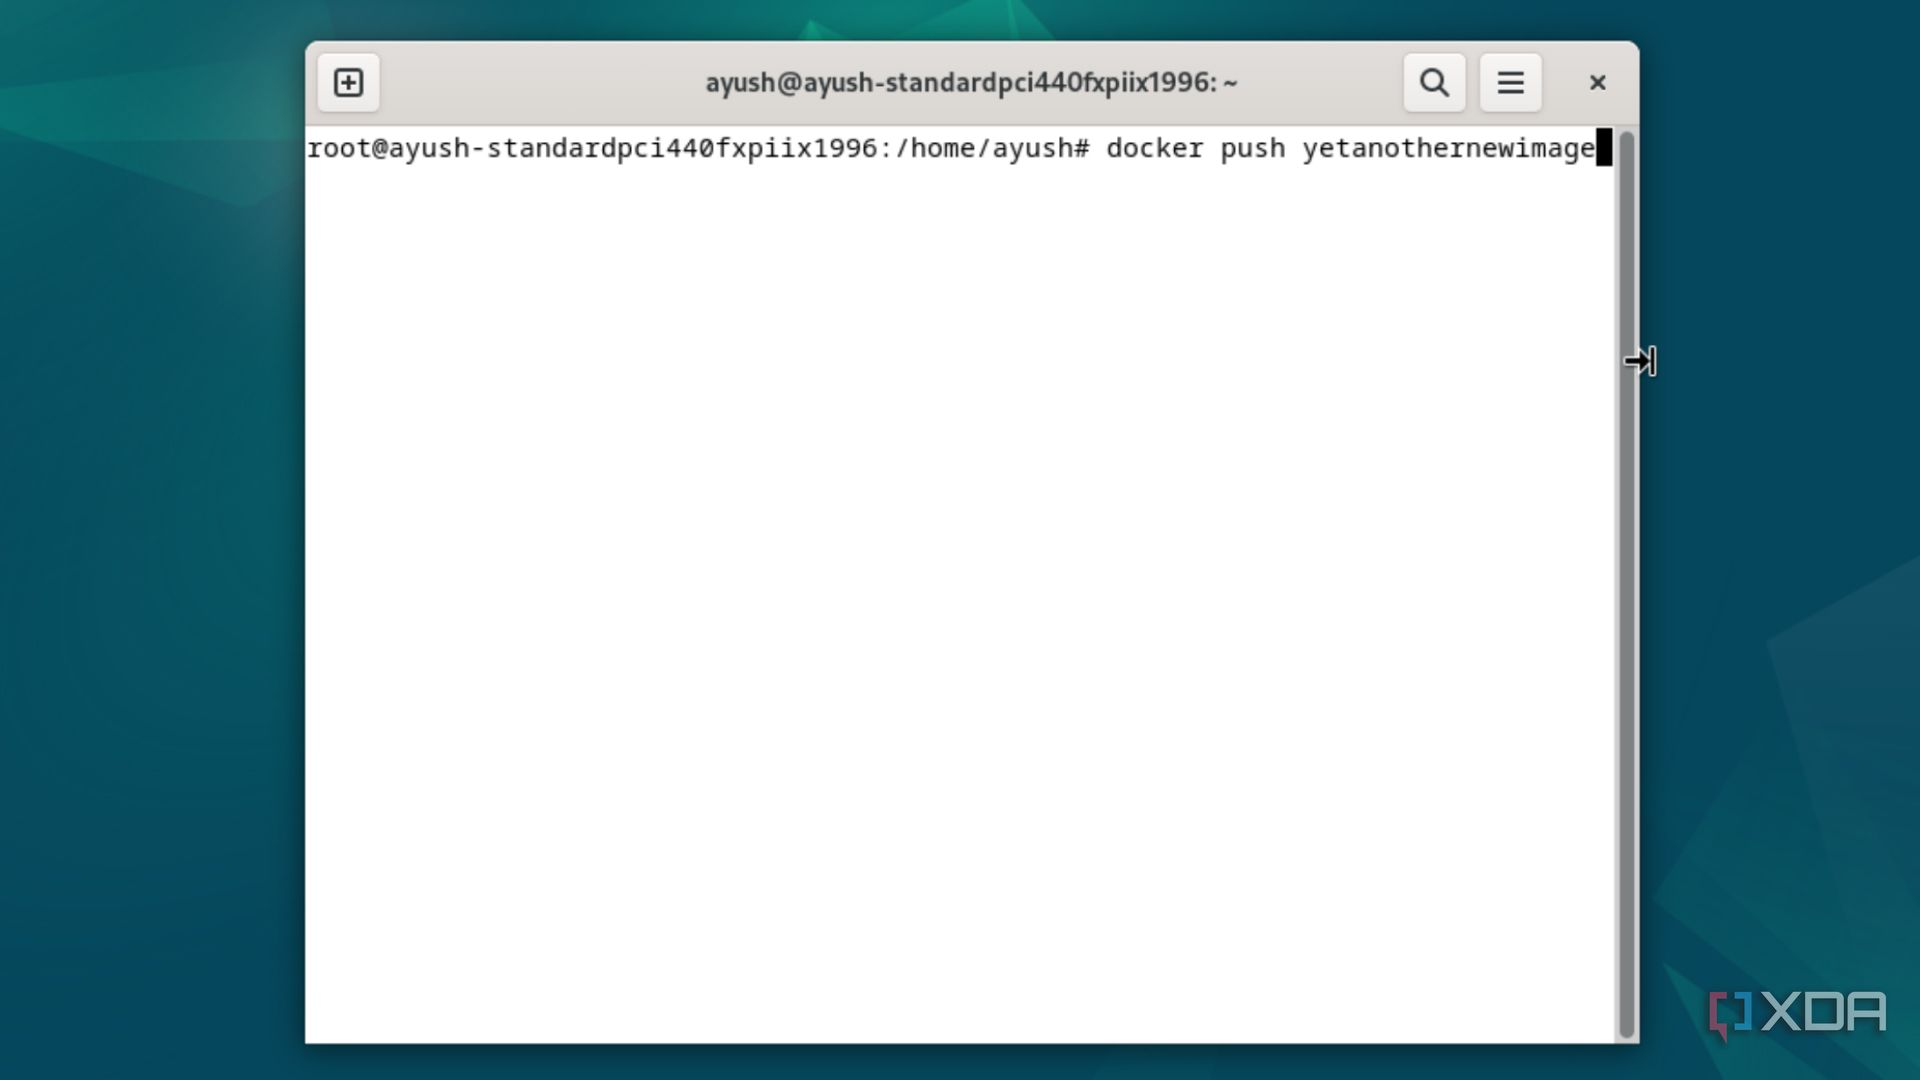
If you wish to publish your customized image on the Docker Hub, you can run the docker push command followed by your account’s username and the name of the image. It’s worth noting that you can only execute this command after signing in your Docker credentials.
docker push image_name
If the terminal displays an error when you try to push the image, it’s possible that such an image already exists on the Docker Hub. So, you’ll want to tag your image with the docker tag image_name username/Image_name command before pushing the new image by entering docker push username/image_name
24docker network create
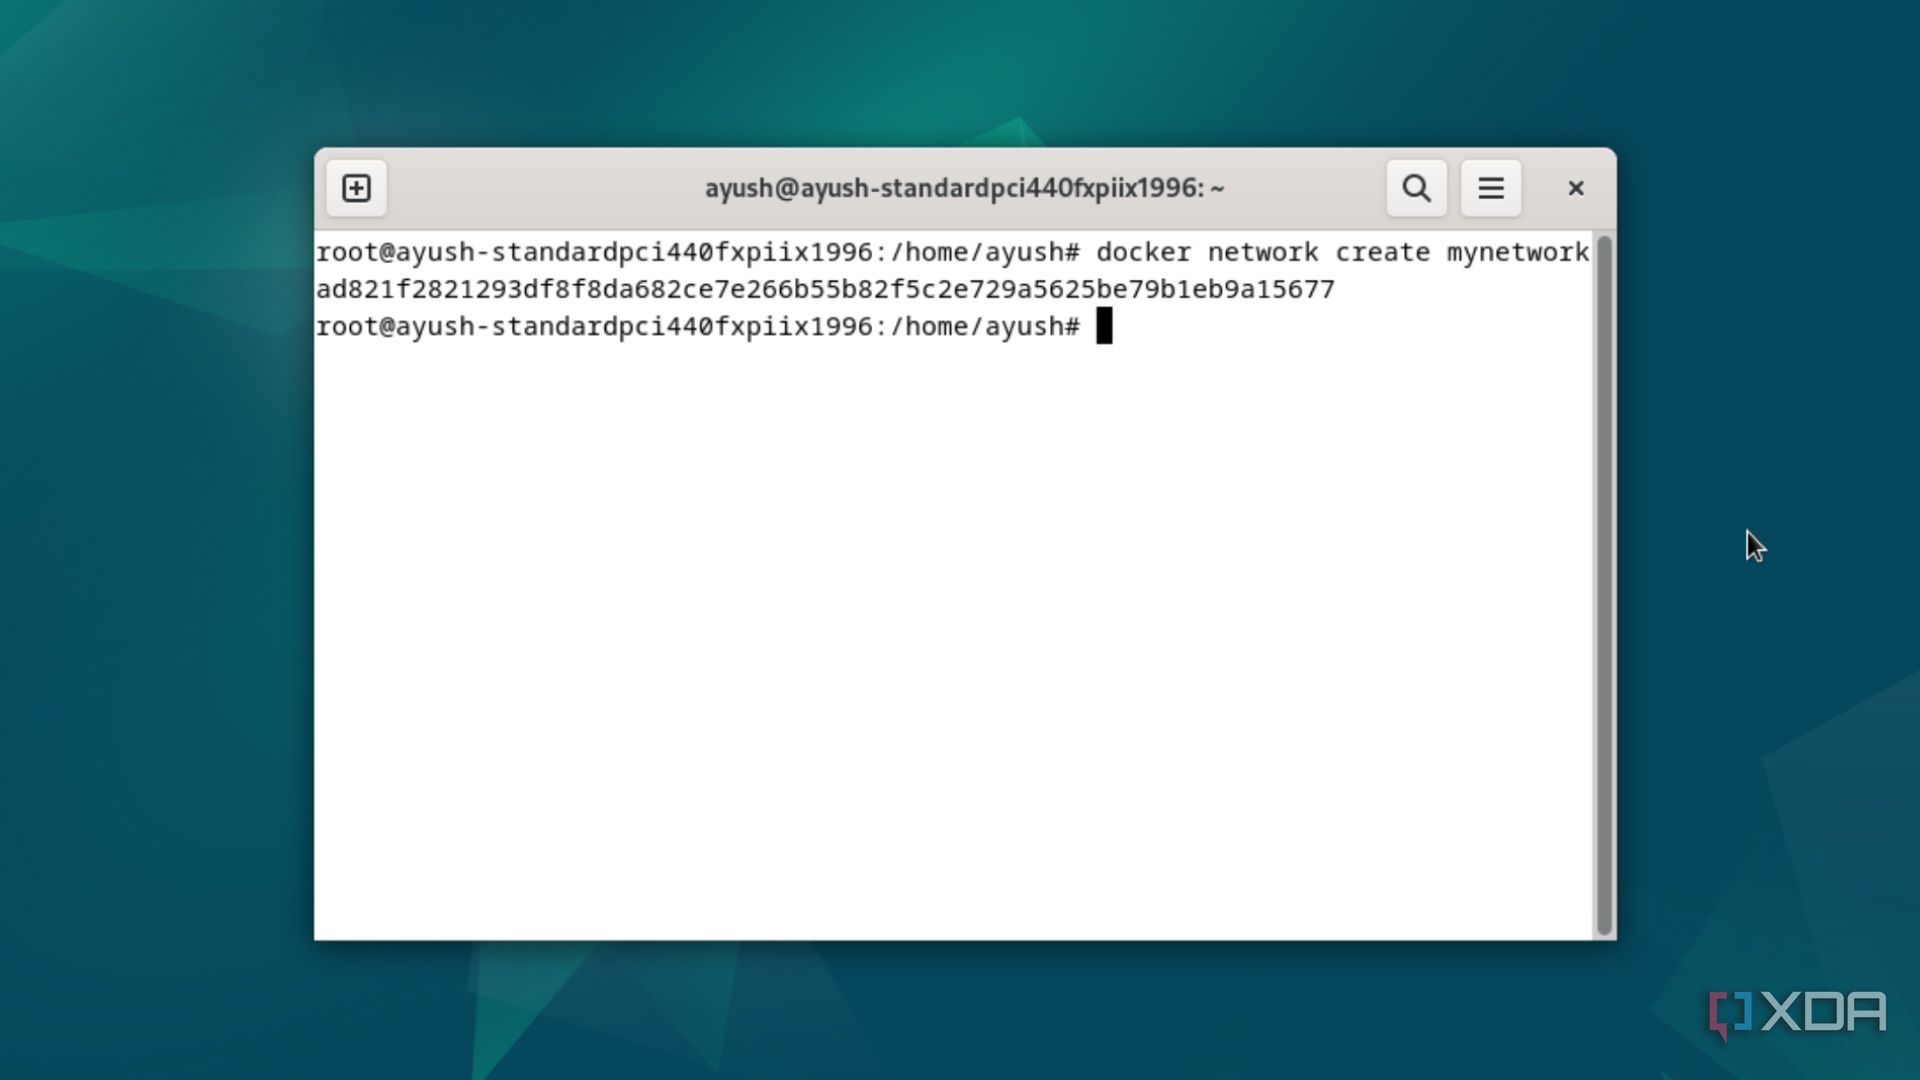
Similar to your favorite hypervisor platform, Docker also lets you create custom (virtual) networks for your containers. You can do so by entering the network keyword with the create argument followed by the name of your network.
docker network create network_name
25docker network connect
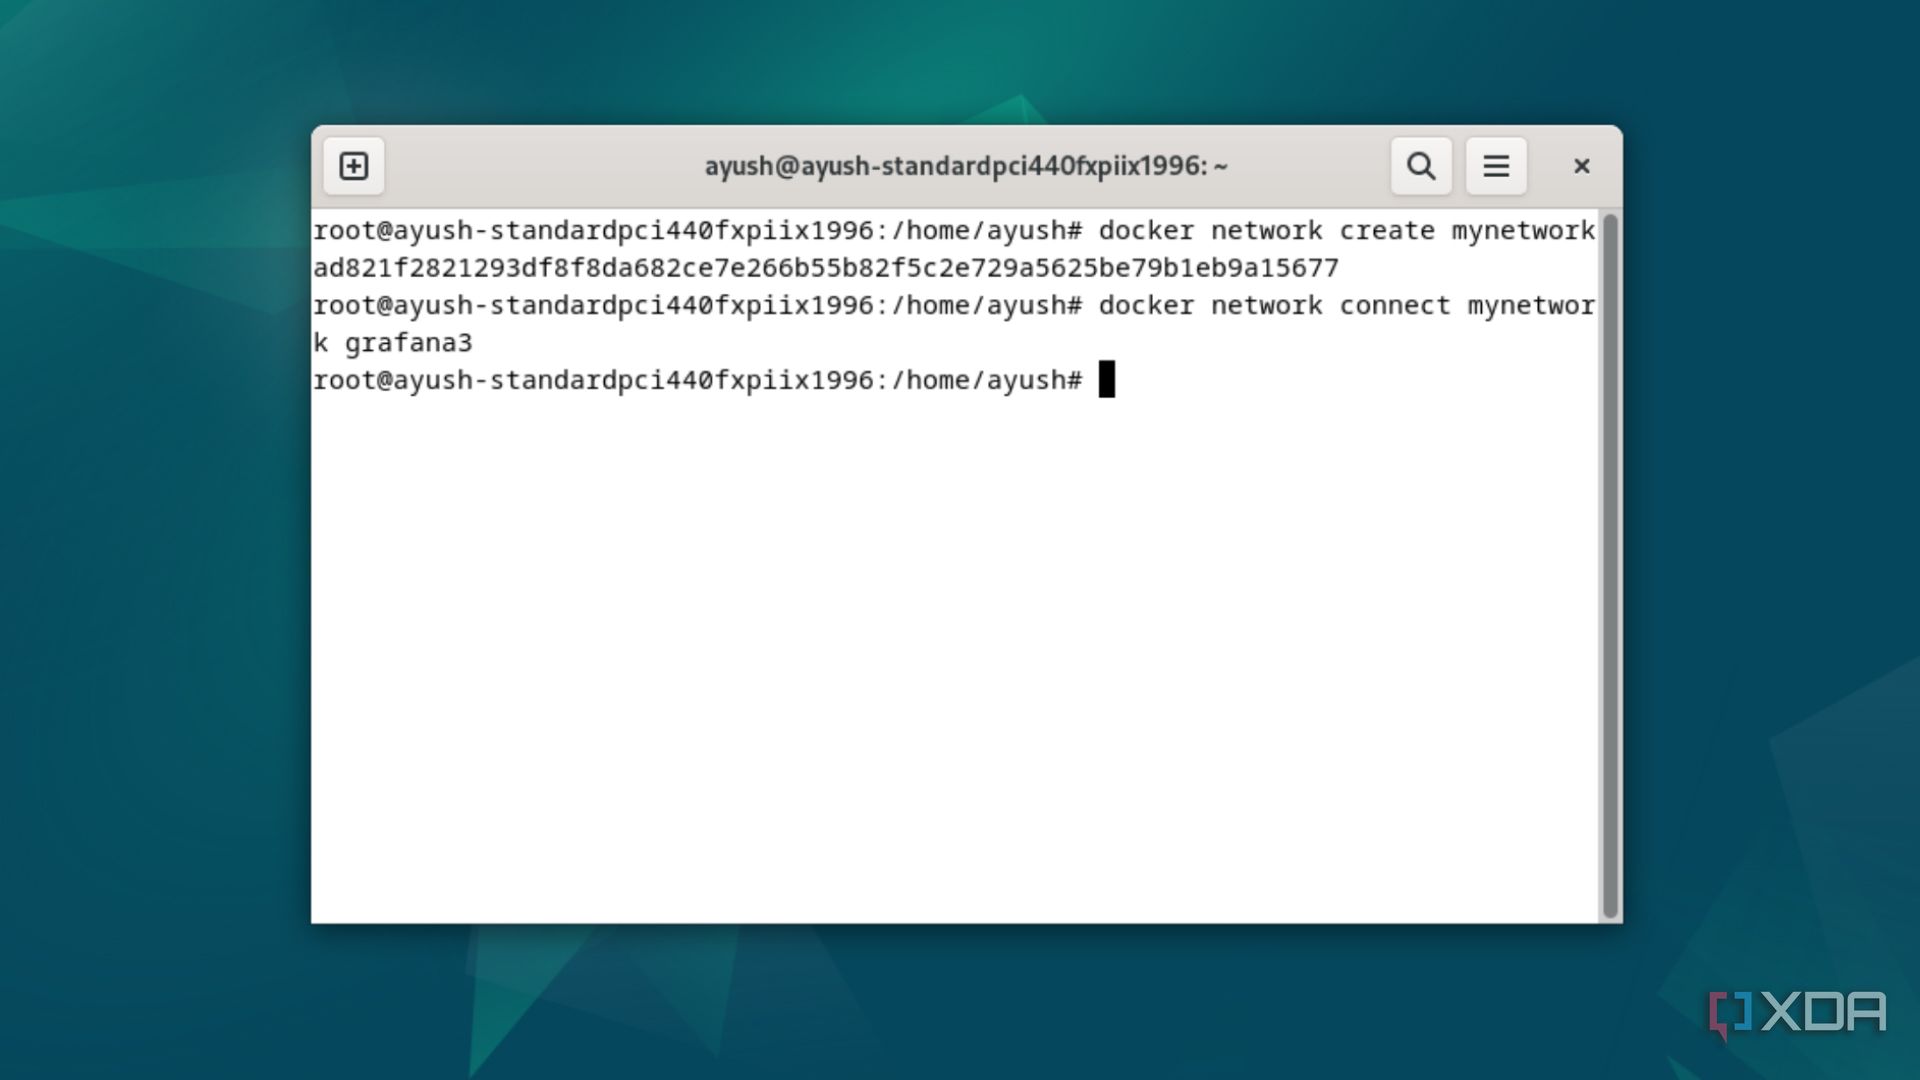
The next logical step is to use the docker connect command to pair your containers with the network you created earlier. It’s quite convenient when you want two containers to communicate over an isolated network.
docker network connect network_name container_name
Leveraging the all-powerful Docker to manage your apps and services
Those were some of the most useful Docker commands, but you’re bound to run into a lot more once you start dabbling in the more complicated aspects of containerization.
But if the Docker Engine’s CLI seems too difficult, you can switch to the menu-based UI of the Docker Desktop. While you have to enable Virtualization in your PC’s BIOS (or turn on nested virtualization, if you’re attempting this project on a hypervisor), Docker Desktop is quite easy to set up, as all you have to do is run the commands mentioned in Docker’s official guide.
Simon Guetta